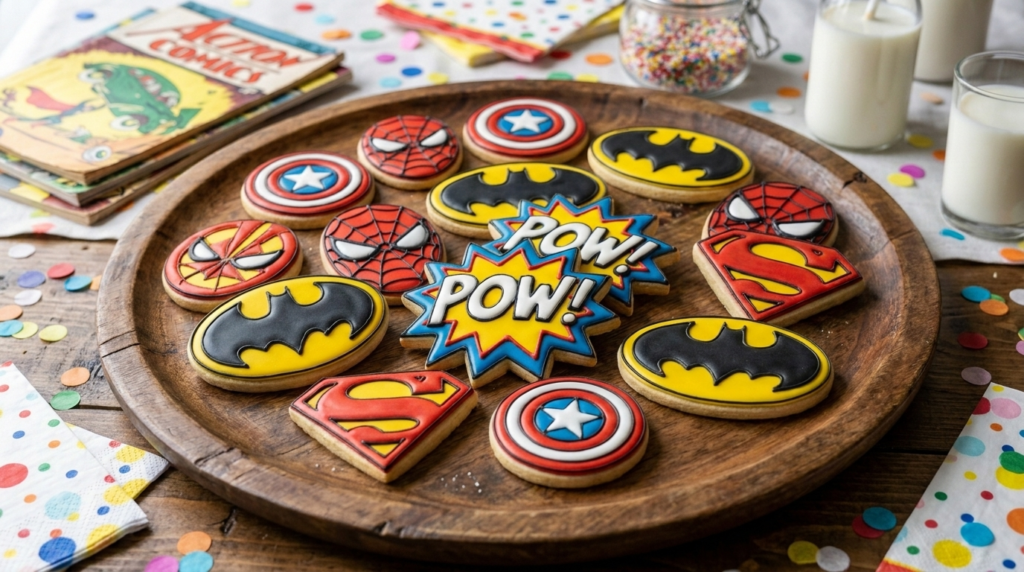
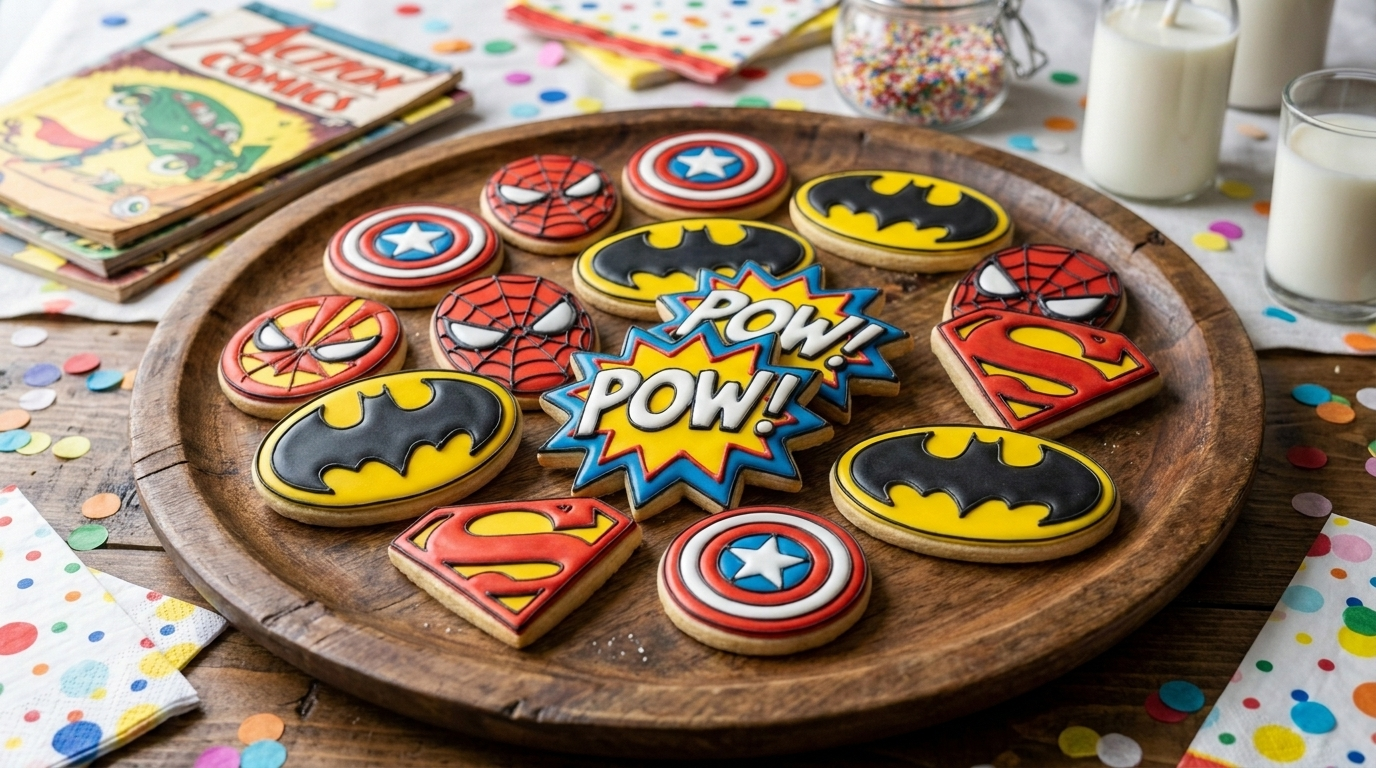

There’s a very specific kind of chaos that happens when you tell a room full of kids you’re making superhero cookies. Half of them start arguing about which hero deserves the cape-shaped cutter first, and the other half are already asking if they can lick the icing bowl. That chaos is exactly why this recipe exists.
This isn’t just a cutout cookie with some blue frosting slapped on top. It’s a proper, bakery-worthy technique for building comic-book-style colour blocking, clean sharp edges, and glossy “pow!” details that hold their shape from oven to party table. Whether you’re planning a birthday bash, a school bake sale, or just a rainy Saturday activity, this guide walks through every single step — including exact image prompts if you want to plan your food photography or social content in advance.
By the end, you’ll have a batch of cookies that look like they escaped from a graphic novel, and a repeatable method you can reuse for any hero, any colour scheme, any occasion.
What Makes a Cookie “Superhero-Themed”?
A true superhero cookie relies on three things: bold primary colours, crisp geometric shapes (shields, lightning bolts, capes, masks), and high-contrast icing work that reads clearly even from across a party table. It’s less about intricate detail and more about graphic, poster-like impact — which is actually what makes this recipe so beginner-friendly.
Quick Answers Before You Start
Can I make the dough ahead of time? Yes. The dough freezes well for up to three months and keeps in the fridge for 3-4 days, making this an easy make-ahead party recipe.
What’s the best icing for superhero cookies? A stiff royal icing for outlining and a slightly thinned “flood” royal icing for filling gives you the cleanest comic-book colour blocks and the glossiest finish once dry.
Do I need special cutters? Basic shield, star, lightning bolt, and mask-shaped cutters work for almost any hero theme. A round cutter plus a sharp knife also works if you don’t want to buy anything new.
How far ahead can I decorate them? Decorated cookies keep at room temperature in an airtight container for up to a week, so they’re genuinely make-ahead-friendly for parties.
Task 2: Superhero Sugar Cookie Recipe
Recipe Metadata
| Prep Time | 30 minutes (plus 1 hour chilling) |
| Cook Time | 10-12 minutes per batch |
| Decorating Time | 45-60 minutes |
| Total Time | Approx. 2.5 hours |
| Servings | 24 cookies |
| Calories (per cookie, iced) | 180 kcal |
| Carbohydrates | 28g |
| Sugar | 16g |
| Fat | 7g |
| Protein | 2g |
Ingredients
For the cookie dough:
- 340g (2¾ cups) plain flour
- 1 tsp baking powder
- ¼ tsp salt
- 227g (1 cup) unsalted butter, softened
- 200g (1 cup) granulated sugar
- 1 large egg
- 2 tsp vanilla extract
For the royal icing:
- 450g (3½ cups) icing sugar, sifted
- 2 large egg whites (or 3 tbsp meringue powder + 6 tbsp water)
- 1 tsp lemon juice
- Gel food colouring (primary red, blue, yellow, plus black for outlines)
Step-by-Step Instructions with Image Prompts
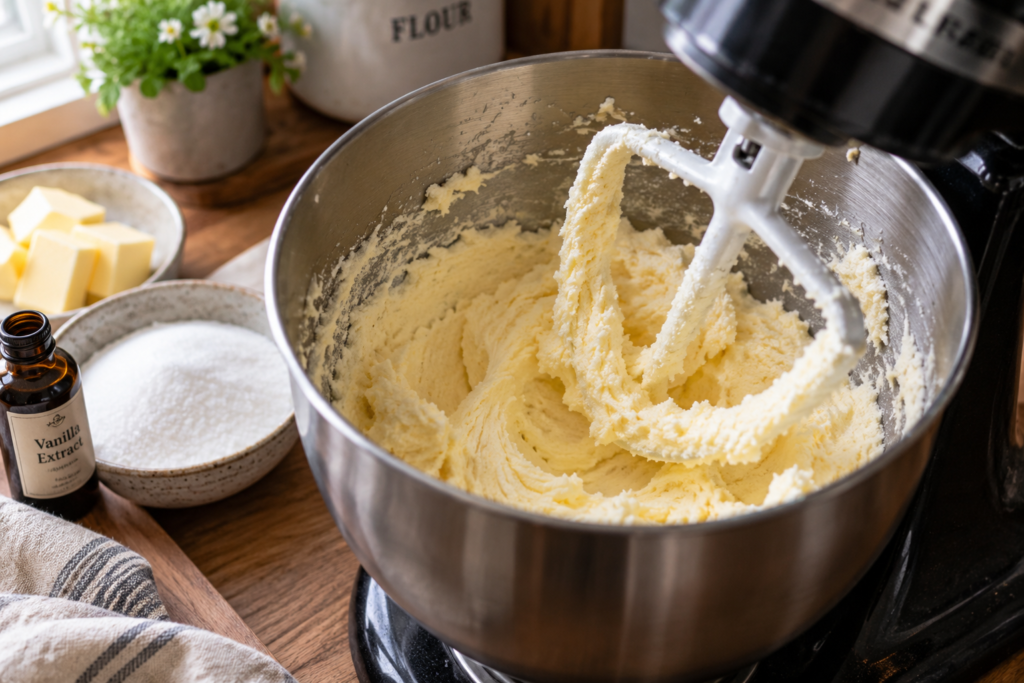
Step 1: Cream the butter and sugar. In a large bowl, beat the softened butter and granulated sugar together for 2-3 minutes until pale and fluffy.
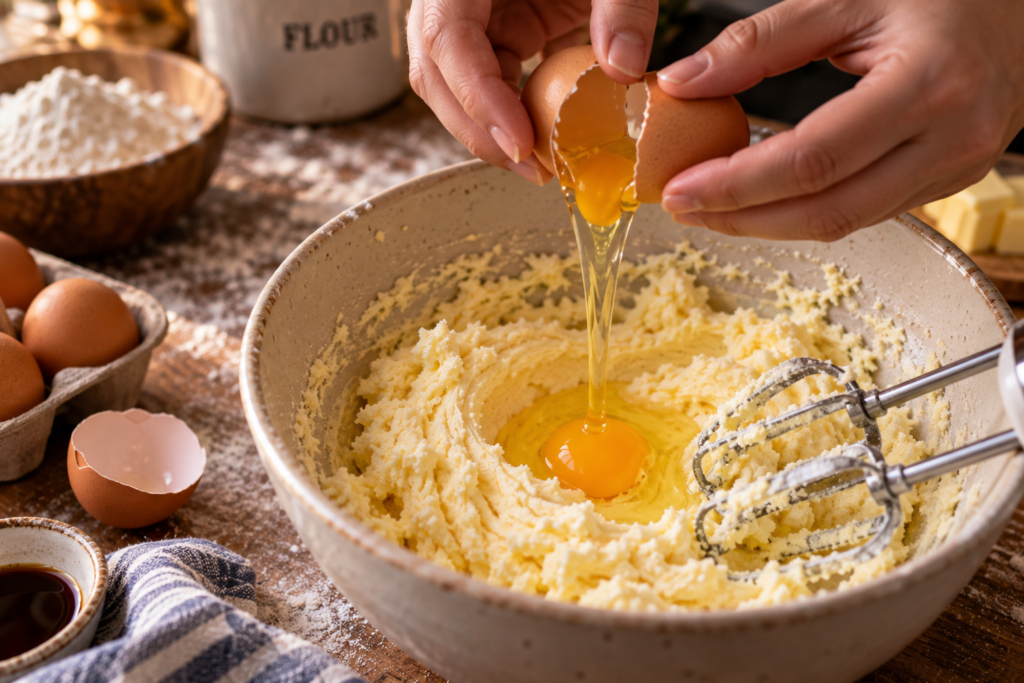
Step 2: Add the egg and vanilla. Beat in the egg and vanilla extract until fully combined and smooth.
Step 3: Mix the dry ingredients. Whisk the flour, baking powder, and salt together in a separate bowl.
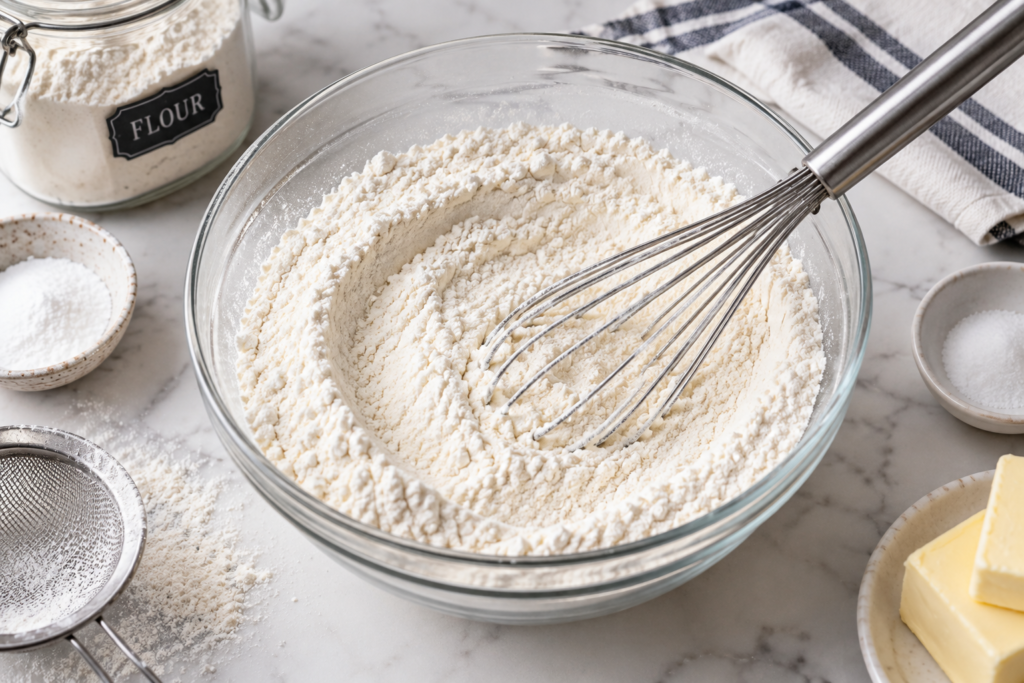
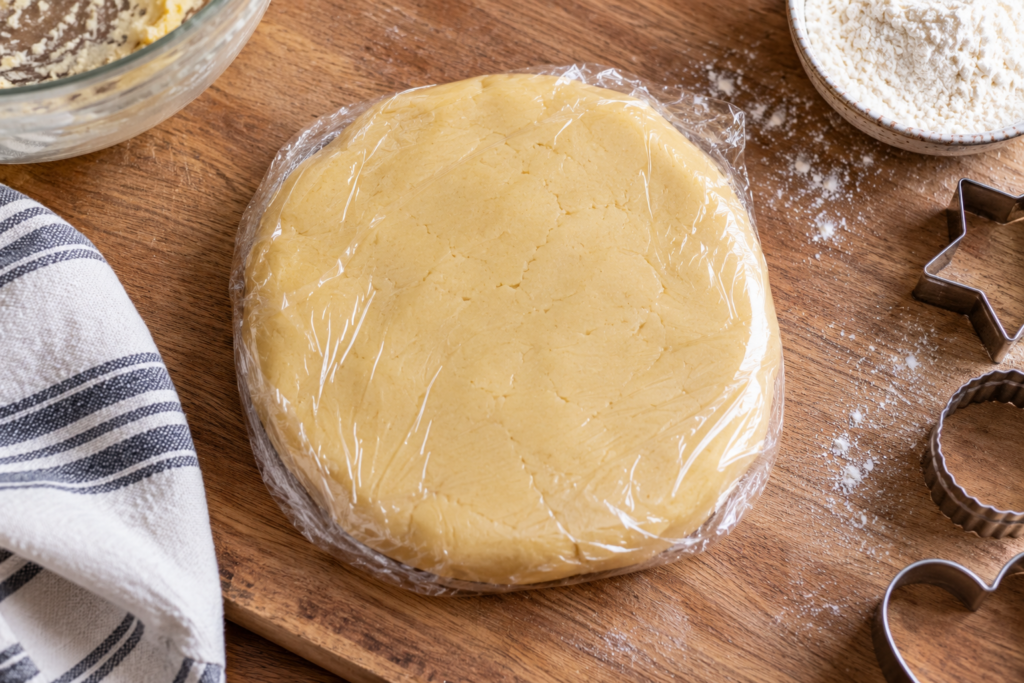
Step 4: Combine and chill. Gradually mix the dry ingredients into the wet mixture until a soft dough forms. Flatten into a disc, wrap in cling film, and chill for at least 1 hour.
Step 5: Roll out the dough. On a lightly floured surface, roll the chilled dough to about 5mm thickness.
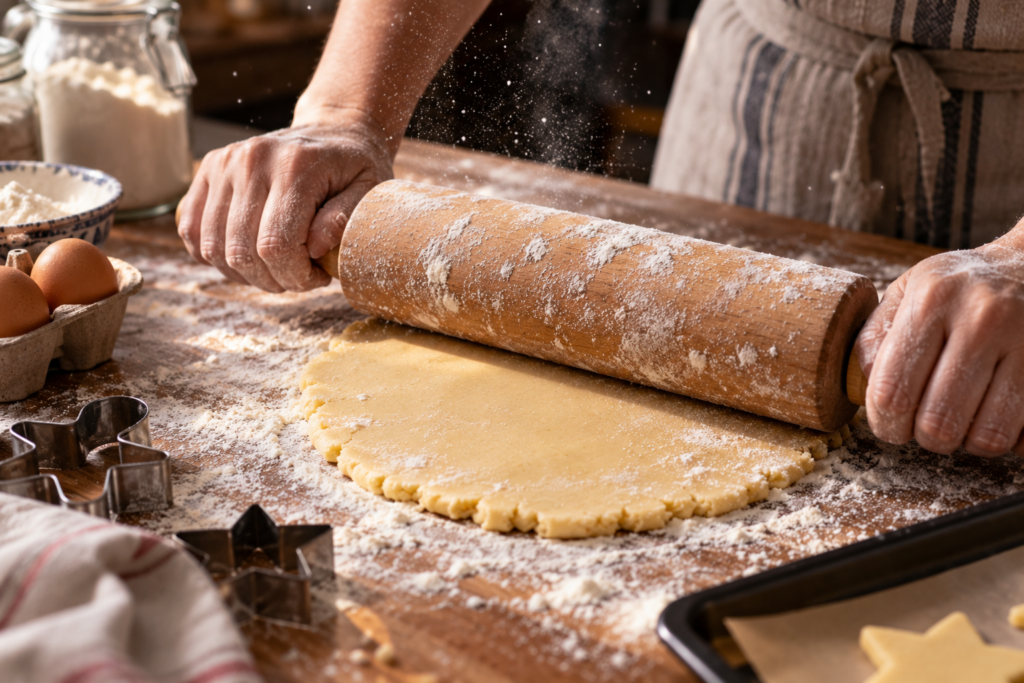
Step 6: Cut superhero shapes. Use shield, star, lightning bolt, and mask-shaped cutters to cut out the cookies, re-rolling scraps as needed.

Step 7: Bake. Transfer the shapes to a parchment-lined baking tray, spaced 2cm apart, and bake at 180°C (350°F) for 10-12 minutes until the edges are just golden.

Step 8: Cool completely. Let the cookies cool on the tray for 5 minutes, then transfer to a wire rack to cool fully before icing.
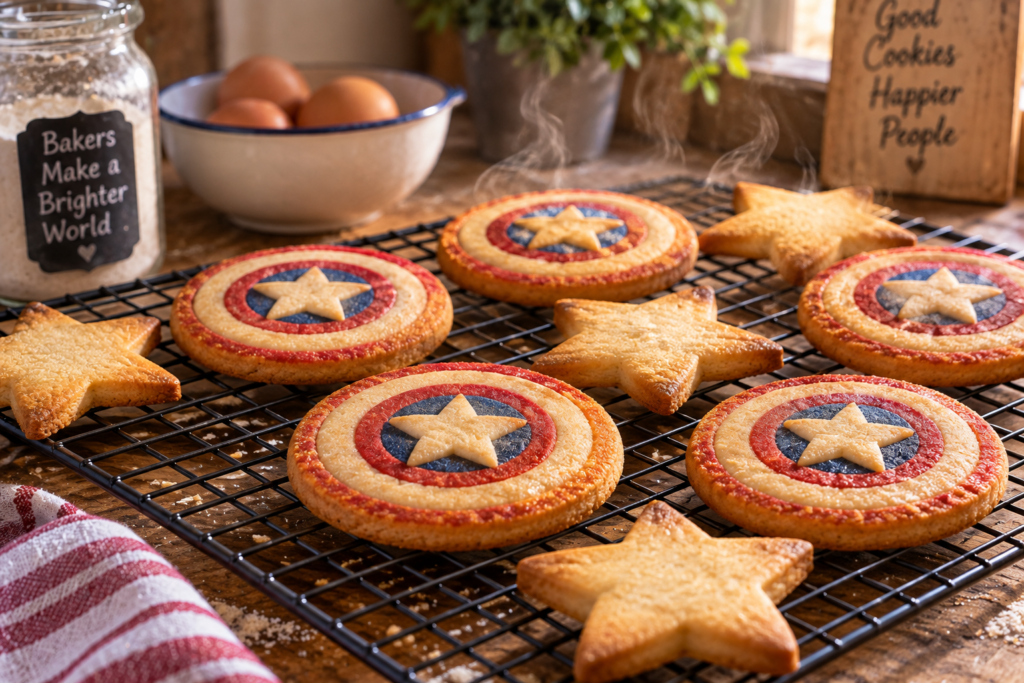
Step 9: Make and colour the royal icing. Whisk the icing sugar, egg whites, and lemon juice into a smooth, glossy icing. Divide into bowls and tint with gel colours, thinning some with a few drops of water for flooding.
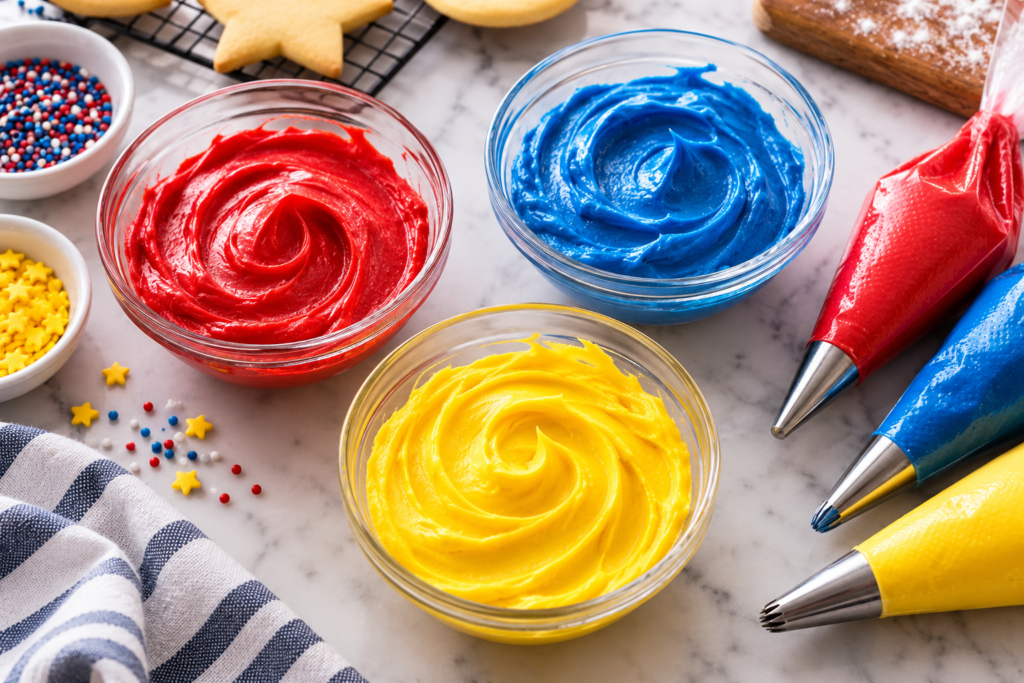
Step 10: Outline and flood each cookie. Pipe a thin outline around each cookie shape with stiff icing, let it set for 5 minutes, then fill the centre with the thinned flood icing using a small offset spatula or toothpick to spread it evenly.
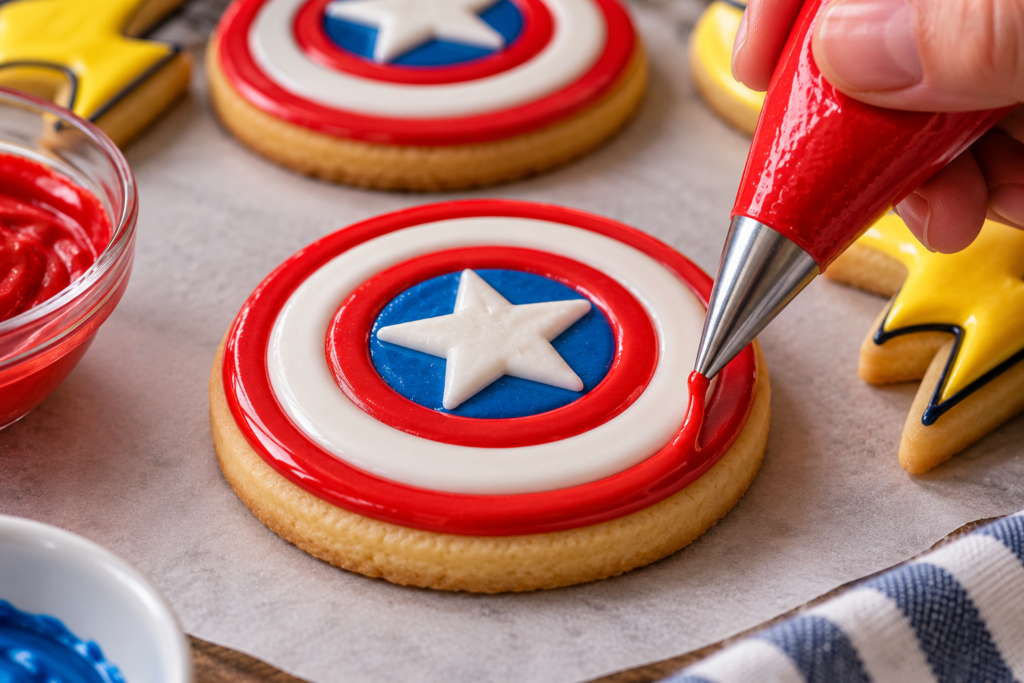
Step 11: Add comic-book details. Once the base colour has set (about 1 hour), pipe black outlines, lightning bolts, stars, or “POW!” text on top using a fine piping tip for that classic graphic-novel look.
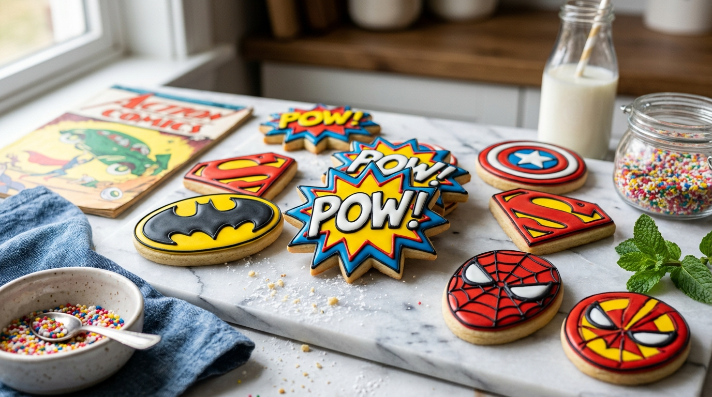
Step 12: Let dry and serve. Allow the decorated cookies to dry fully for 2-4 hours (or overnight) before stacking or packaging.