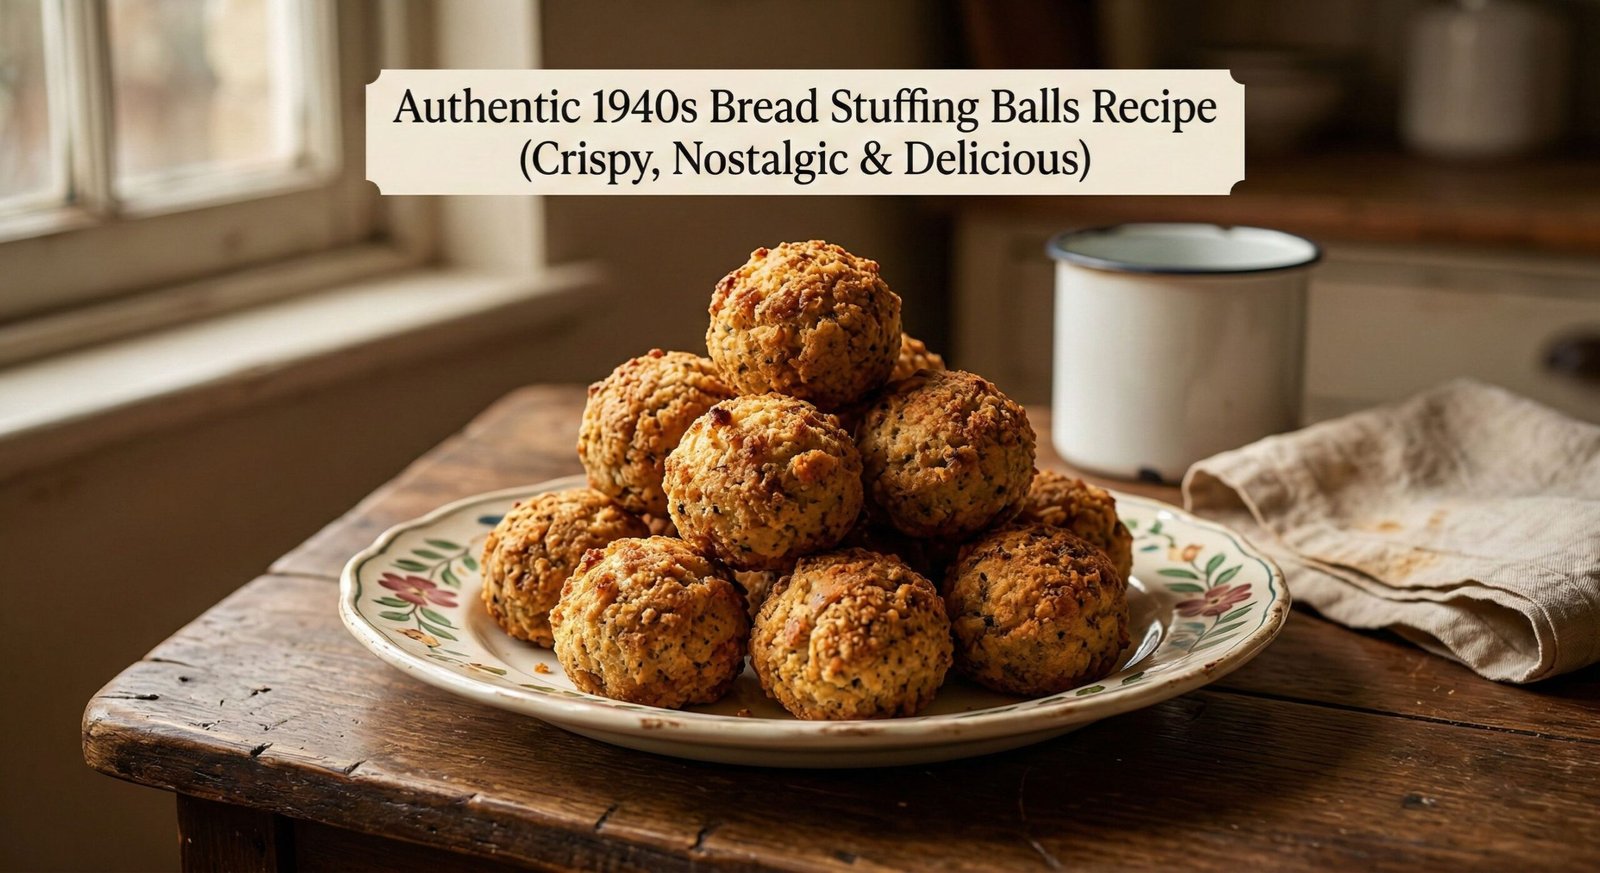
There is a profound sense of magic that happens when you recreate a recipe from the past. When it comes to holiday comfort food, nothing quite compares to the warmth and ingenuity of dishes passed down from our grandmothers. If you are searching for exactly How to Make Bread Stuffing Balls 1940s Recipe will transport you straight back to a simpler time, filling your kitchen with the irresistible aroma of sage, onions, and toasted bread.
Hello, I’m AB Rehman. Over the years of developing and testing recipes, I’ve found that the best dishes are often born out of necessity. The 1940s was a defining era for home cooking. Marked by World War II and strict food rationing, home cooks had to be incredibly resourceful. They transformed humble, leftover ingredients into feasts that brought families together during tough times. That is exactly how these old-fashioned bread stuffing balls (often called dressing balls) became a staple on the holiday table.
Today, I am sharing my tried-and-true method for making the perfect 1940s bread stuffing balls. They are gloriously crispy on the outside, perfectly tender and moist on the inside, and completely foolproof.
The History: Why 1940s Stuffing Balls?
During the 1940s, wasting food was simply not an option. Stale bread was saved in tins, and when the holidays rolled around, it was repurposed into stuffing. However, instead of baking a massive, soggy casserole, clever homemakers started rolling the stuffing into individual balls.
Why? First, it helped stretch the meat portions during rationing. Second, rolling them into balls meant you could bake them right alongside the roast chicken or turkey on the same pan, saving precious oven fuel. When I first tested this vintage method in my own kitchen, I was blown away by the texture. Unlike traditional pan stuffing where only the top layer gets crispy, every single bite of a stuffing ball gives you that coveted golden, buttery crust.
Why You Will Fall in Love With This Recipe
As someone who has cooked countless Thanksgiving and Sunday dinners, I can confidently tell you that this recipe solves almost all traditional stuffing problems:
- The Ultimate Crunch-to-Soft Ratio: By baking them individually, the hot oven air circulates around each ball, creating a 360-degree crispy exterior while locking the savory chicken broth and herb moisture inside.
- Built-in Portion Control: No more messy scooping from a deep dish. Each guest gets two or three beautifully round stuffing balls. They look incredibly elegant on a serving platter.
- Zero Food Waste: This is the ultimate “clean out the pantry” recipe. It thrives on day-old or two-day-old bread.
- Customizable Vintage Charm: In the 1940s, butter was heavily rationed, so many families used bacon drippings. You can use all butter for a rich flavor, or swap half of it for bacon grease for a truly authentic, smoky WWII-era taste.
Ingredients You Will Need
The beauty of 1940s cooking lies in its simplicity. You don’t need expensive or hard-to-find ingredients to make a side dish that steals the show.
- 10 Cups Cubed Bread: This is your foundation. The bread must be stale (about 2 to 3 days old). I prefer a mix of hearty white bread and whole wheat for depth of flavor. If your bread is too fresh, the balls will turn out gummy.
- ¾ Cup Unsalted Butter: For richness. (Pro Tip: Substitute 2-3 tablespoons of butter with bacon drippings if you want the ultimate vintage flavor profile).
- ½ Cup Diced Celery & ½ Cup Diced Yellow Onion: These are your aromatics. Chop them finely so they blend seamlessly into the stuffing without leaving large, crunchy chunks.
- 1 ½ Teaspoons Kosher Salt & ½ Teaspoon Black Pepper: Essential for balancing the flavors.
- 1 Teaspoon Poultry Seasoning: This is the quintessential taste of the holidays. A good poultry seasoning contains sage, thyme, marjoram, and sometimes a hint of nutmeg.
- ½ Cup Chicken Broth: To add moisture and savory depth. You might need a splash more if your bread is exceptionally dry.
- 2 Large Eggs: The binding agent. Eggs were precious in the 40s, but two are necessary here to ensure your stuffing balls don’t crumble apart in the oven.
- ½ Cup Fresh Parsley: Finely chopped, this adds a pop of vibrant color and a fresh, earthy finish.
Step-by-Step: How to Make Bread Stuffing Balls 1940s Recipe
Here is my foolproof method for getting these right on the very first try.
Step 1: Prep the Bread and Oven
Preheat your oven to 375°F (190°C). Line a large, rimmed baking sheet with aluminum foil or parchment paper and grease it lightly. If you forgot to leave your bread out to get stale, don’t panic! Simply spread your fresh bread cubes on a baking sheet and toast them in a 250°F oven for about 15-20 minutes until they feel dry to the touch, but not browned. Let them cool.
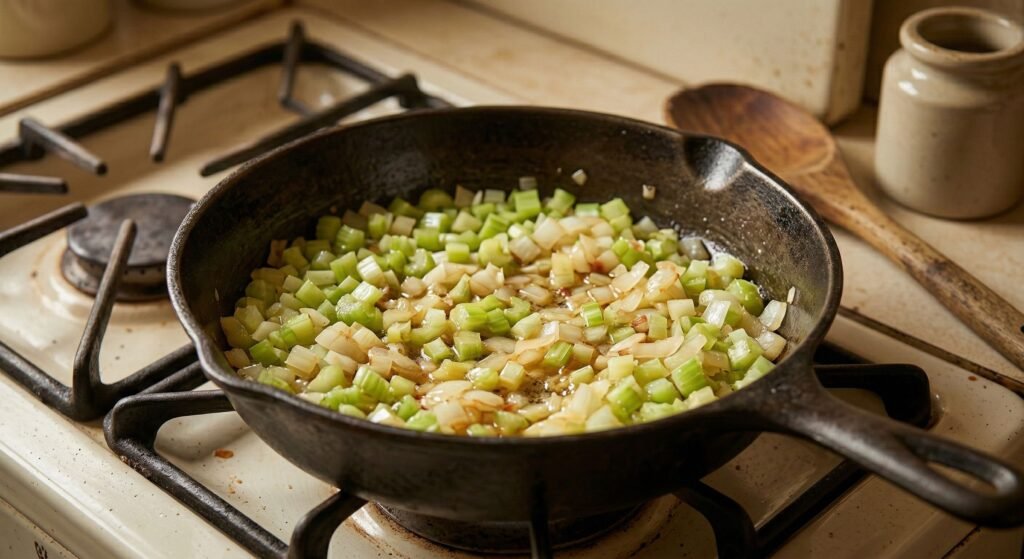
Step 2: Sauté the Aromatics
Place a large, heavy-bottomed skillet over medium heat and melt your butter (and bacon drippings, if using). Once it starts to foam slightly, add the finely diced celery and onions. Sauté them slowly for about 5 to 7 minutes. You want them to become translucent, soft, and sweet, but not browned.
Step 3: Bloom the Spices
Once the vegetables are soft, sprinkle in the salt, black pepper, and poultry seasoning. Stir continuously for about 60 seconds. Cooking the dried herbs in the hot butter “blooms” their essential oils, making the whole house smell like a holiday feast. Remove the skillet from the heat.
Step 4: Mix the Wet Ingredients
In a separate large mixing bowl, crack the two large eggs and whisk them vigorously. Pour in the half cup of chicken broth and whisk again until fully combined.
Step 5: Combine and Fold
Add your stale bread cubes and the freshly chopped parsley into the bowl with the egg and broth mixture. Now, pour the warm, buttery vegetable mixture directly over the bread. Using your hands or a large rubber spatula, gently fold everything together. Expert Tip: Do not mash or squeeze the bread! You want to toss it gently until the bread absorbs the liquid. If the mixture seems too dry to hold a shape, add another tablespoon or two of broth.
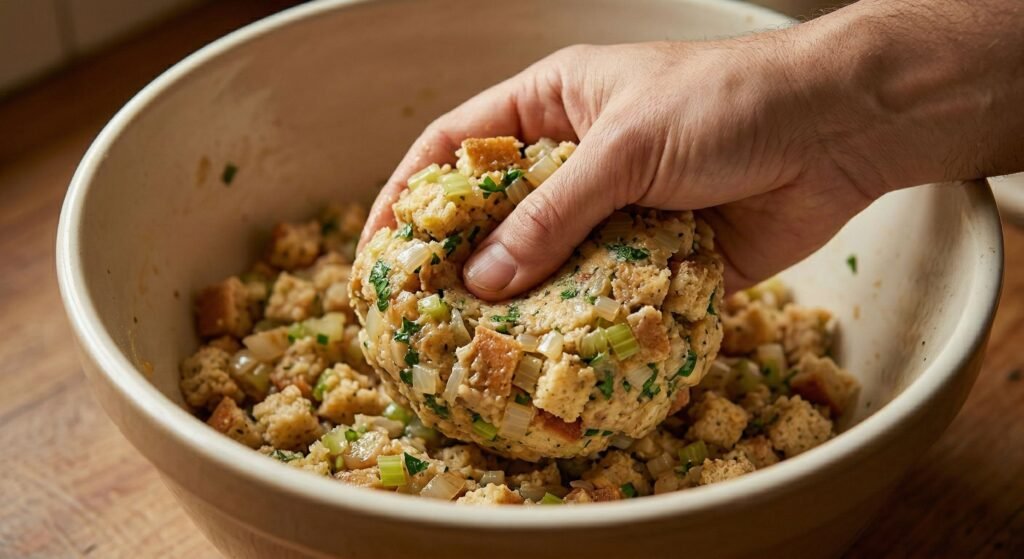
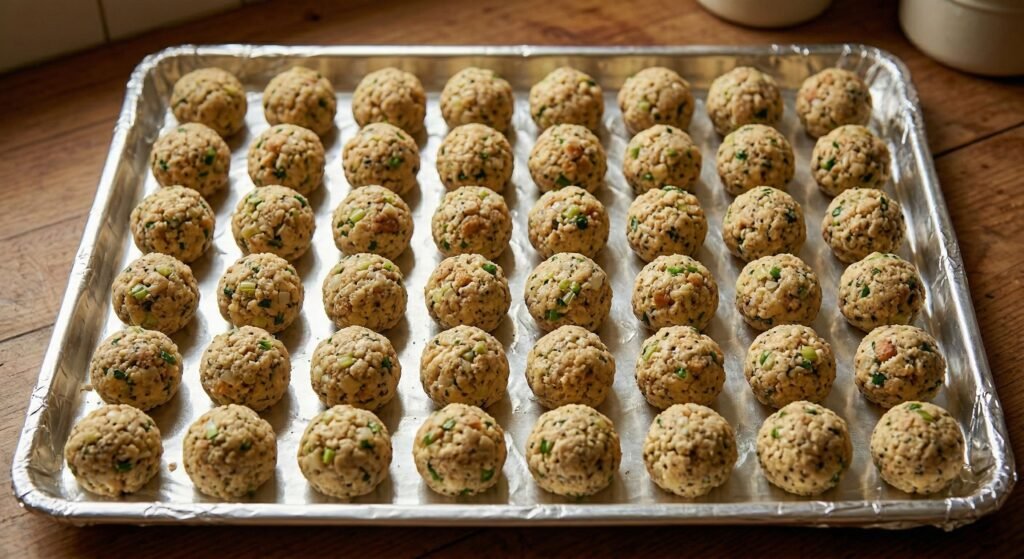
Step 6: Shape the Balls
Using your hands, scoop up a portion of the mixture and gently press it into a round ball, roughly 2 inches in diameter (about the size of a golf ball or slightly larger). Pack them firmly enough so they hold together, but don’t compress them into dense rocks. Place them evenly on your prepared baking sheet. You should get about 20 to 24 balls.
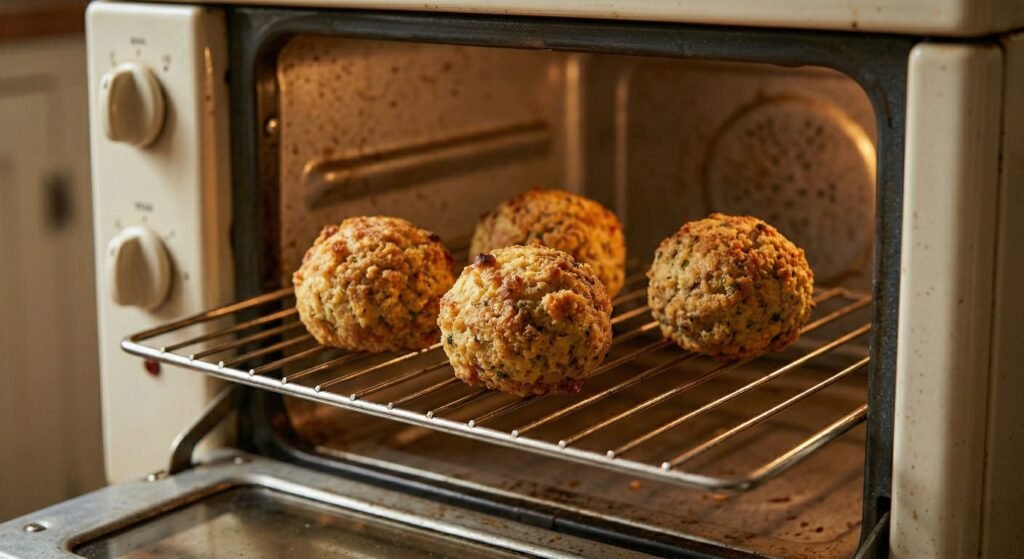
Step 7: Bake to Golden Perfection
Bake in the preheated 375°F oven for 20 to 25 minutes. Keep an eye on them during the last 5 minutes. You are looking for a beautiful, deep golden-brown crust. Once done, let them rest on the baking sheet for 2 minutes before transferring them to a serving platter.
Pro Tips for the Perfect Texture
Over the years of tweaking this recipe, I’ve learned a few secrets to ensure perfection every time:
- The Squeeze Test: Before rolling all your balls, take a small handful of the mixture and squeeze it. If it holds its shape without crumbling, it’s perfect. If it falls apart, add a tiny splash of broth.
- Chill Out: If you find your mixture is too sticky or fragile, pop the whole bowl in the refrigerator for 20 minutes before rolling. The butter will firm up, making rolling much easier.
- Make it Vegetarian: Want to serve this to vegetarian guests? Swap the chicken broth for a rich vegetable stock and ensure you use 100% butter (no bacon grease).
Make-Ahead and Storage Instructions
One of the reasons homemakers loved this recipe in the 1940s was its convenience.
To Make Ahead: You can prepare the mixture and roll the stuffing balls up to 24 hours in advance. Place them on the baking sheet, cover tightly with plastic wrap, and store them in the refrigerator. When you are ready to bake, let them sit at room temperature for 15 minutes while the oven preheats, then bake as directed.
To Freeze: These freeze beautifully! Place unbaked stuffing balls on a tray in the freezer for 2 hours (this is called flash-freezing). Once solid, transfer them to a freezer-safe zip-top bag. They will keep for up to 3 months. You can bake them straight from frozen; just add 5 to 8 minutes to your baking time.
To Reheat Leftovers: Store baked leftovers in an airtight container in the fridge for up to 3 days. To regain that glorious 1940s crunch, reheat them in a 350°F oven for 10 minutes. Avoid the microwave, as it will make them rubbery.
Frequently Asked Questions (FAQs)
What is the difference between stuffing and dressing? Historically, “stuffing” is cooked inside the cavity of a bird, while “dressing” is baked in a separate dish outside the bird. However, today, the terms are often used interchangeably. These stuffing balls are technically a “dressing,” but the vintage name remains!
Why are my stuffing balls falling apart? This usually happens for two reasons: the bread wasn’t stale enough to absorb the egg/broth binder, or you didn’t pack them firmly enough when rolling. Adding an extra egg yolk or a splash of broth can help rescue a crumbly batch.
Can I add meat to this recipe? Absolutely. While the basic 1940s recipe relied on drippings for meat flavor, you can fold in half a cup of cooked, crumbled sausage or finely diced cooked bacon to elevate the dish even further.
What kind of bread is best for vintage stuffing? Avoid ultra-soft, highly processed modern sandwich breads as they turn to mush. Look for a sturdy, rustic white loaf, French bread, or a hearty whole wheat. Mixing two types of bread adds fantastic texture and flavor.
Bringing a 1940s recipe back to life is more than just cooking; it’s a tribute to the resilience and creativity of the home cooks who came before us. By following these steps on how to make bread stuffing balls, you are serving up a side dish that is steeped in history, rich in flavor, and guaranteed to be a massive hit at your next holiday gathering. Happy cooking!