The Ultimate Spring Cake Pops Recipe (Easy & Crack-Free)
When Spring Arrives, the Kitchen Sings
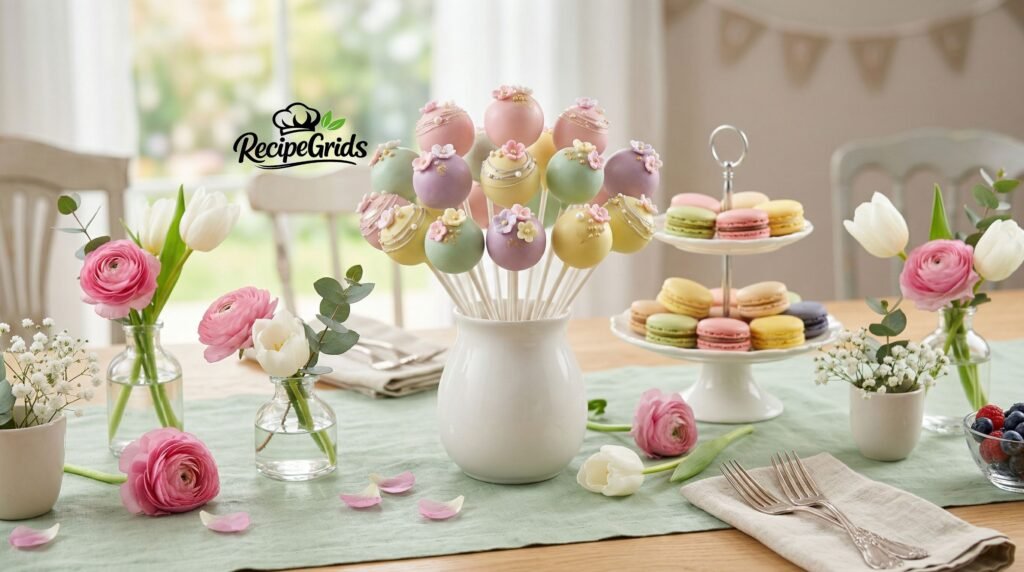
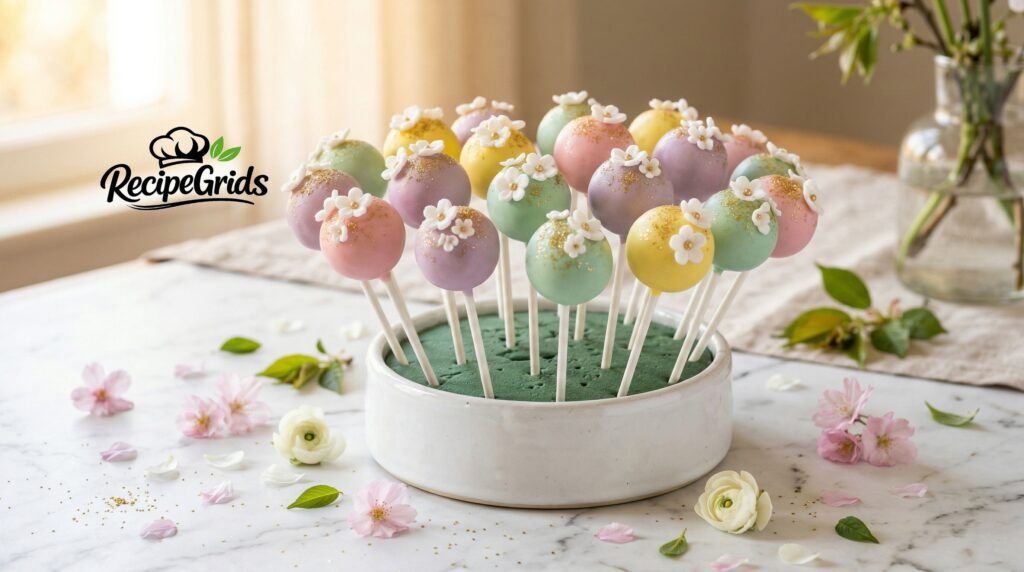
There’s a particular kind of joy that arrives every March in my kitchen — a restlessness to finally put away the heavy spiced cakes and dark chocolate tarts of winter and reach for something that actually looks like the season. Light, bright, whimsical, and impossibly charming. That’s exactly what spring cake pops are. And once you’ve made them — truly made them well, coating after coating coming out silky smooth, each one a little edible jewel on a stick — you will not be able to stop.
I first fell hard for cake pops at a spring garden party about twelve years ago. A pastry chef friend set out a tower of pale mint green pops dusted in edible pearl shimmer, and every single person at the party picked one up before the food was even officially opened. That moment taught me something important: presentation power is real, and these little bites command it effortlessly. Since then, I’ve made thousands — for weddings, baby showers, Easter tables, birthday parties, school bake sales, and yes, many ordinary Tuesday afternoons when I just needed something delightful.
What makes spring cake pops specifically so perfect for this season? Three things: color, portability, and joy. You can achieve those dreamy pastel palettes that simply don’t feel right in November. They travel beautifully to picnics and potlucks. And there is something childlike and wonderful about eating a whole cake on a stick that makes people smile without fail. This pillar guide will walk you through absolutely everything — my tested techniques, hard-won troubleshooting lessons, decoration ideas, and the answers to every question I’ve ever been asked about them. Let’s get into it.
Why This Recipe Works: The Chef’s Secrets Behind Perfect Cake Pops
Before we touch a single ingredient, let’s talk about why cake pops fail — because understanding the failure points is what separates a cake pop that’s a disappointment (dry, crumbly, falling off the stick, cracked coating) from one that’s genuinely professional. I’ve tested this recipe across humid springs in New Orleans, dry springs in Denver, and everything in between. The principles hold everywhere.
The Moisture Ratio Is Everything
The most common mistake I see is using too much binder — usually frosting — to hold the cake crumbs together. More frosting does not equal more stability. What it actually equals is a dense, greasy ball that becomes too heavy for the stick and causes your coating to slide right off. The sweet spot is approximately 2 tablespoons of frosting per 1 cup of cake crumbs. You want the mixture to hold its shape when squeezed but still feel slightly springy, never wet or paste-like.
Temperature Is the Other Half of the Battle
Cold cake balls + properly tempered coating = success. Warm cake balls + any coating = disaster. Chilling your formed balls thoroughly (at least 1 hour in the refrigerator or 20 minutes in the freezer) is non-negotiable. The cold temperature helps the coating grab instantly when it makes contact, creating that smooth, even shell rather than sliding, puddling, or cracking as it dries.
Don’t freeze your cake balls for longer than 25 minutes. Overly frozen cake balls cause the coating to crack as the center warms and expands. I learned this the hard way making 200 pops for a spring wedding — half the batch cracked overnight. Now I set a timer. Always.
Stick Security: How to Make Sure They Never Fall Off
Dip the tip of each lollipop stick about ½ inch into melted coating before inserting it into the cake ball. Let the coated tip set for 30 seconds, then push it gently in. This creates a glue-like anchor inside the ball. Without this step, the weight of the coating on the outside can literally lever the ball right off the stick during dipping. It’s a small step that makes an enormous difference.
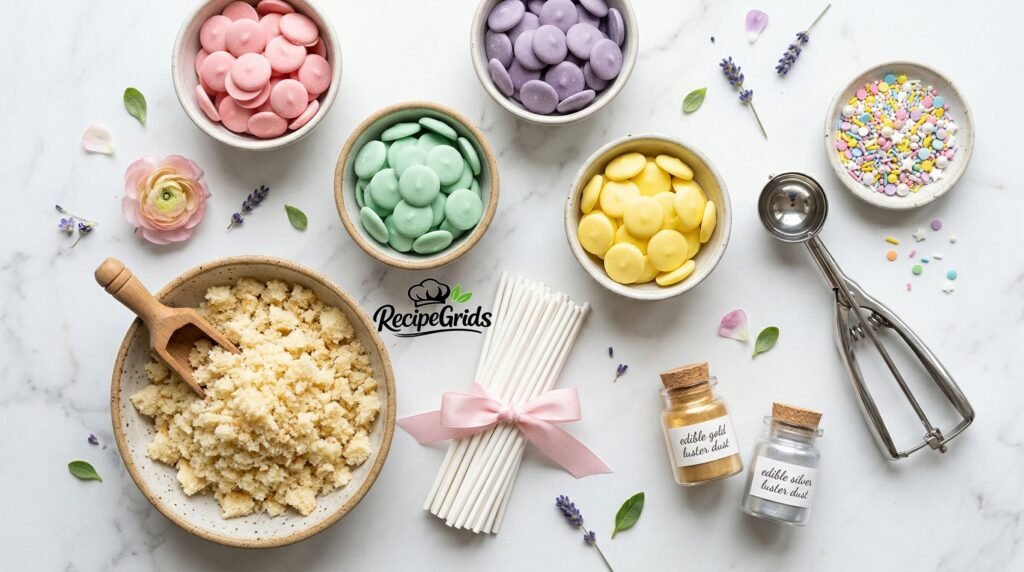
Ingredients & Tools: What You’ll Actually Need
The Ingredient List
| Category | Ingredient | Amount | Notes |
|---|---|---|---|
| Cake Base | Vanilla or funfetti cake | 1 standard 9×13″ baked cake | Box mix or homemade both work. Funfetti adds a spring energy. |
| American buttercream | 3–4 tbsp | Start with 3 tbsp; add more only if crumbs won’t hold | |
| Coating | Wilton Candy Melts — pastel assortment | 24 oz total | Pink, lavender, mint, yellow. Wilton is my go-to for reliability. |
| Paramount crystals (optional) | 1–2 tsp per cup | Thins coating for a smoother finish — absolute game changer | |
| Coconut oil | 1 tsp per cup | Alternative thinner; adds a subtle gloss | |
| Decoration | Spring flower sprinkles mix | 2–3 oz | Wilton Spring Mix or Fancy Sprinkles “Garden Party” |
| Edible pearl dust or luster dust | 1–2 jars | Gold, silver, or iridescent for that glowing finish | |
| White jimmies | 1 oz | For texture contrast | |
| Pastel sanding sugar | 1 oz each color | Pink, mint, and lavender | |
| Tools | Lollipop sticks (6″) | 36 sticks | Wilton or Amazon brand both fine. 6″ > 4″ for stability. |
| Styrofoam block | 1 (at least 4″ deep) | For standing pops upright while coating sets | |
| Deep narrow bowl or mug | 1–2 | Height is key for full coverage in one dip | |
| Cookie scoop (#50) | 1 | For uniformly sized balls | |
| Microwave-safe bowl | 2–3 | One per color coating |
Step-by-Step Instructions: From Crumbs to Cake Pops
Bake and Cool Your Cake Completely
Bake your vanilla or funfetti cake according to your recipe or box instructions. Let it cool completely — not warm, not “mostly cool,” but fully room temperature or even slightly chilled. Crumbling a warm cake introduces steam into the mixture, which throws off your moisture balance. I usually bake the day before and wrap the cooled cake tightly in plastic wrap overnight.
Crumble the Cake to Fine, Even Crumbs
Break the cake apart with your hands or a fork, working until you have fine, even crumbs with no large chunks. Remove any dried edges or overly browned bits — these create hard spots in the finished pop. A stand mixer with a paddle attachment on low speed is my favorite method for large batches: it takes about 30 seconds and produces beautifully uniform crumbs.
Add Frosting Gradually and Mix
Add your room-temperature buttercream one tablespoon at a time, mixing between each addition. Stop when the mixture holds its shape when pressed firmly in your palm but doesn’t feel wet or slick. Truly, 3 tablespoons is often enough for a standard cake. This step takes patience but it is the difference between a light, tender center and a dense, greasy one.
Portion and Roll into Balls
Use a #50 cookie scoop (approximately 1 tablespoon) to portion evenly, then roll between your palms into smooth, tight balls. Work quickly — the warmth of your hands will start to soften the mixture. Aim for golf-ball size. Uniform size matters: too large and the pop becomes too heavy for the stick. Smaller (1 inch) is perfectly fine and actually preferred for party displays.
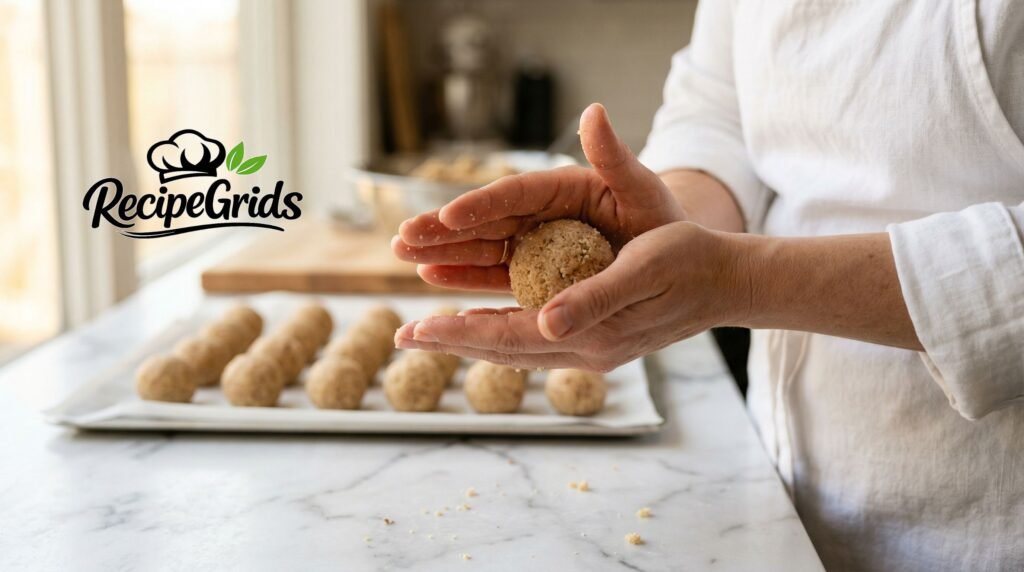
Chill the Cake Balls
Place the formed balls on a parchment-lined sheet tray and refrigerate for at least 1 hour, or freeze for exactly 20–25 minutes. This is your most important quality-control step. Do not skip it, do not shorten it. Cold balls = a coating that sets immediately and stays in place. Use this time to melt and prepare your coatings.
Melt Your Candy Coating
Melt Candy Melts in a microwave-safe bowl in 30-second bursts, stirring thoroughly between each. Do not rush this — overheating is the #1 cause of seized, clumpy coating. Once melted, thin with paramount crystals (1–2 tsp per cup) or coconut oil (1 tsp per cup) until the coating runs off a spoon like warm honey. Transfer to a deep, narrow mug or cup for dipping — height is everything here.
Secure the Sticks
Dip the tip of each lollipop stick about ½ inch into your melted coating, then immediately insert it gently but firmly into the center of a cold cake ball, pushing about halfway through. Let it set for 30 seconds. Repeat with all balls before you begin the full dipping process.
Dip, Drain, Decorate, and Set
See the full dipping masterclass below — this step deserves its own section and it absolutely gets one.
The Dipping Masterclass: How to Get a Silky, Crack-Free Coating
“The dip is where cake pops either become beautiful or heartbreaking. I’ve had both happen, sometimes in the same batch. Everything I know about getting it right came from getting it wrong first.”
— Chef Lena Marlowe
Let me tell you about the spring picnic disaster of 2018. I was making 80 cake pops for an outdoor garden party — a truly gorgeous pastel spread I’d been planning for weeks. I melted the Candy Melts, they looked perfect. I dipped the first ball and it came out beautifully. By pop number 30, the coating was getting thick, lumpy, and sticking unevenly. By pop 50, the whole bowl had seized into something resembling wet concrete. I panicked, added water (wrong), made it worse, started over. Half my batch was ruined with only two hours before guests arrived.
That afternoon taught me more about coating chemistry than any culinary school class ever had. Here is everything I know now:
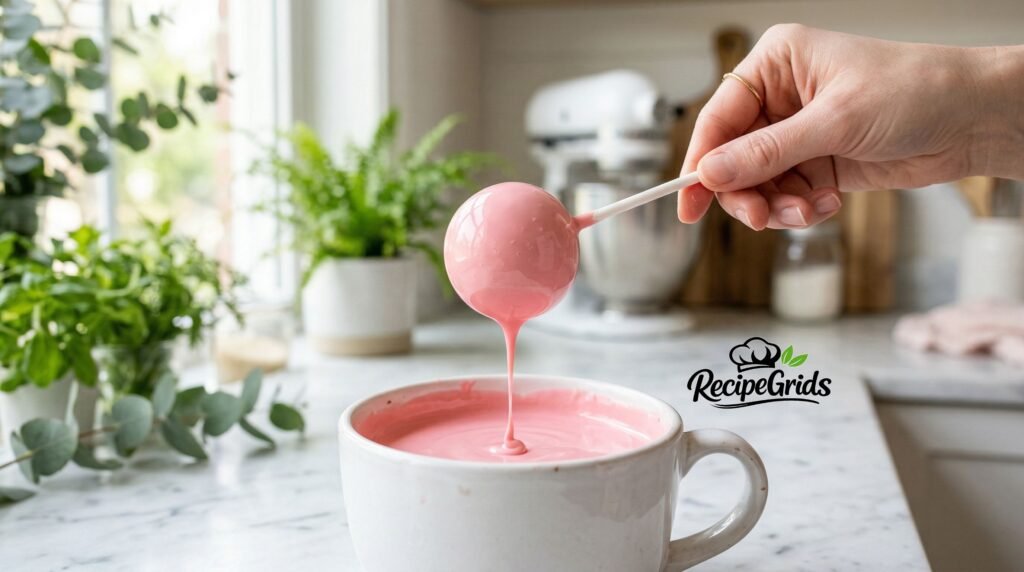
The Deep Cup Method
Pour your melted coating into a deep, narrow vessel — a tall mug or a deep measuring cup. You need at least 3 inches of depth. Hold the cake pop by the stick and submerge it completely with one smooth, downward motion. Do not swirl, do not push it around. Straight in, straight out. As you lift it out, hold it above the cup and rotate the stick gently between your fingers while tilting at about a 45-degree angle. This lets excess coating drip off and self-levels the surface.
Tap, Don’t Shake
Tapping the wrist of your dipping hand firmly (not the stick) is the professional technique for removing air bubbles and excess coating. One firm tap, then a slow rotation. Shaking the stick causes the pop to wobble and can actually introduce new bubbles into the coating surface.
Temperature Management During a Long Session
As you work through a batch, your coating cools and thickens. Every 8–10 pops, give it a quick 10-second microwave burst and stir. Don’t wait until it’s visibly thick — stay ahead of it. This is what I wish I’d done at that fateful picnic.
Common Dipping Mistakes and Exactly How to Fix Them
| Mistake | Why It Happens | How to Fix It |
|---|---|---|
| Coating too thick, won’t smooth out | Coating has cooled or was not thinned enough | Add 1 tsp paramount crystals + 10 second microwave burst, stir thoroughly |
| Air bubbles on surface | Coating contains air from stirring, or cake balls were too cold | Firm wrist tap after dipping; let coating cool 2 min before starting next batch |
| Coating slides off the ball | Cake ball is too warm, or cake is too moist | Return all balls to freezer for 10 min; check moisture ratio of cake base |
| Ball falls off stick while dipping | Stick was not anchored with pre-dipped coating tip | Let the anchoring coating set longer (60 sec) before dipping |
| Streaky or lumpy surface | Swirled the pop while dipping, or coating too thick | One fluid motion in and out; thin the coating more next time |
Never add water to seized or thick candy coating. Water causes candy melts to seize completely — it’s a permanent, unrecoverable disaster. For thinning, only use fats: paramount crystals, coconut oil, or vegetable shortening. I cannot stress this enough.
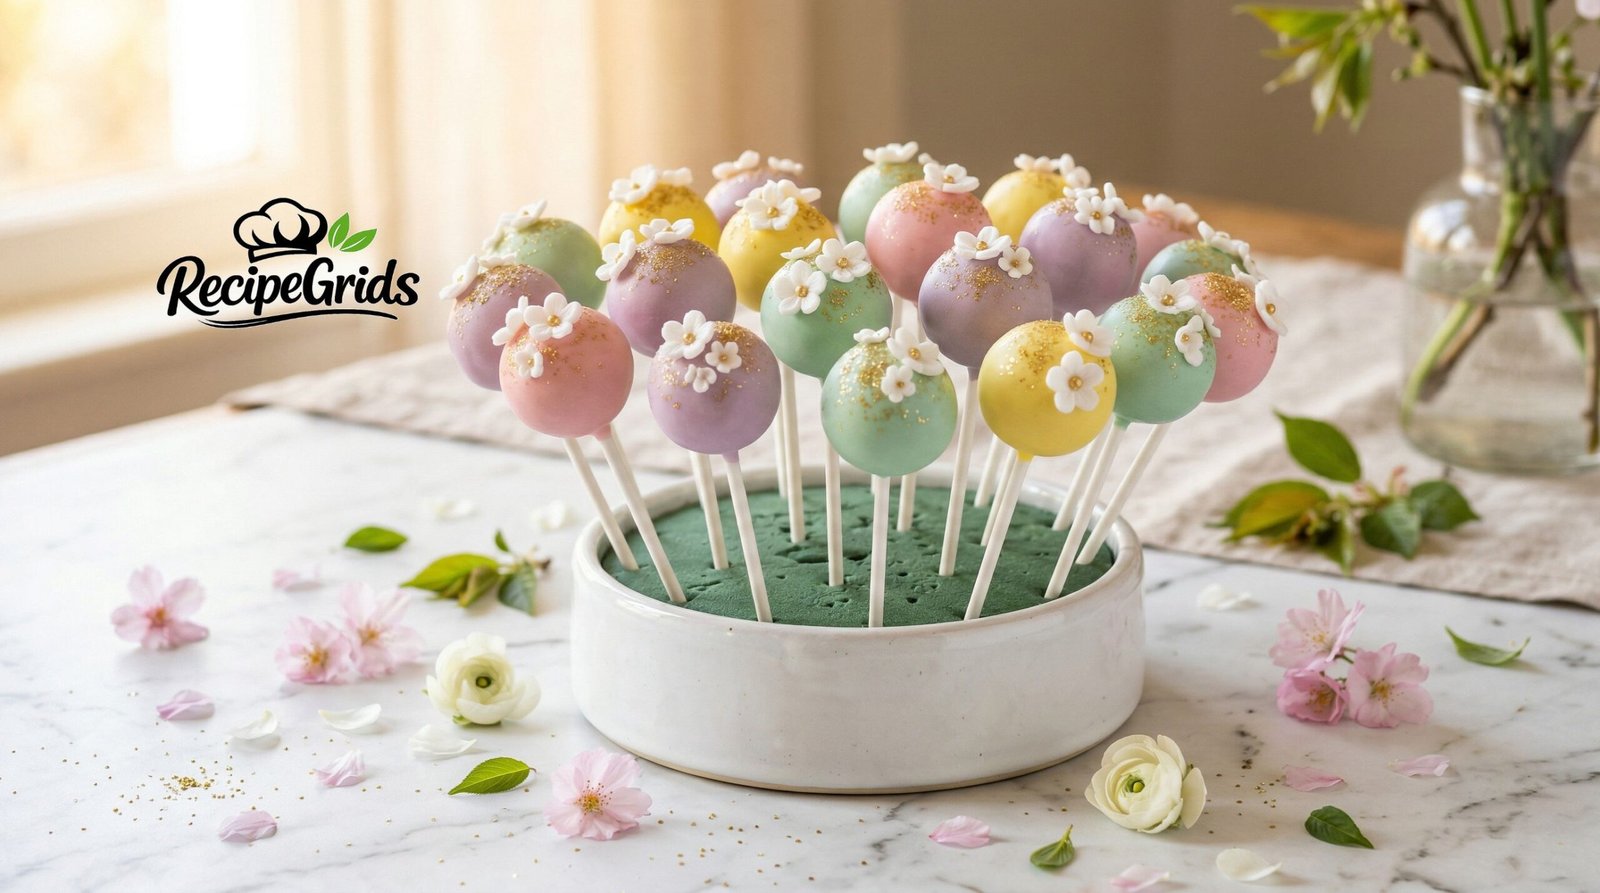
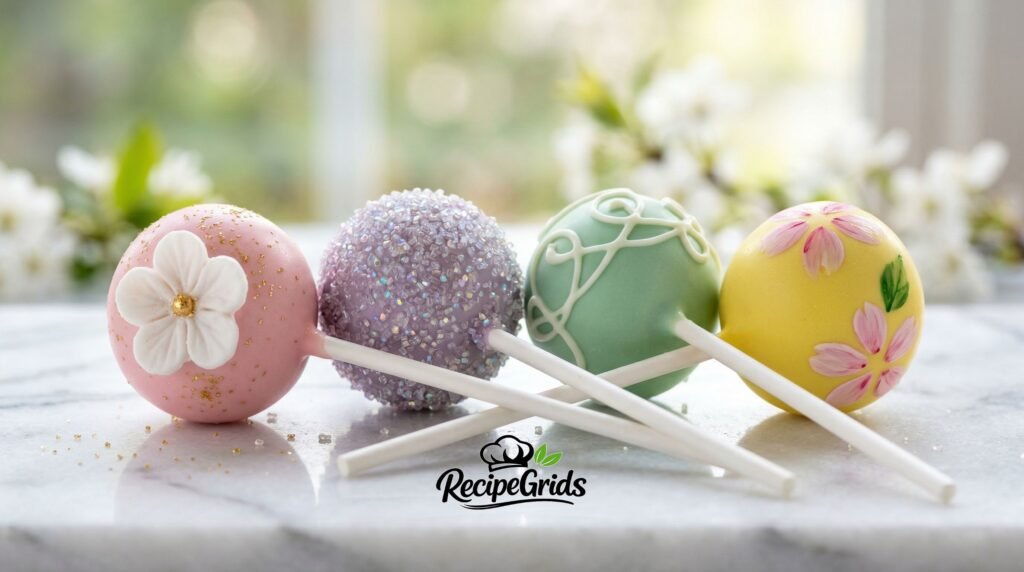
Spring Decoration Ideas: Where the Magic Really Happens
This is honestly my favorite part. Once the coating sets (about 5 minutes at room temperature, or 2 minutes in the fridge), the blank canvas in front of you is wonderfully open. Spring-themed decoration is all about layering color, texture, and sparkle. Here are my most-loved techniques:
Pressed Flower Sprinkles
Apply immediately after dipping before coating sets. Use tweezers for precision placement of individual flower shapes.
Edible Luster Dust
Brush dry luster dust over set coating with a soft food-safe brush for a pearl-shimmer effect. Gold dust over lavender is breathtaking.
Two-Tone Drizzle
After base coating sets, drizzle a contrasting pastel color using a piping bag or fork. Pink over mint, yellow over lavender.
Sanding Sugar Dip
Roll the freshly dipped (wet) pop in pastel sanding sugar before coating sets for a glittery, crystalline look.
Easter Chick & Bunny Faces
Use food-safe markers or a fine piping tip to draw adorable spring animal faces. Kids absolutely love these.
White Chocolate Floral Piping
Melt white candy melts, tint pale green, and pipe tiny leaf and vine details onto set coating. Stunning for bridal showers.
Troubleshooting Section: Every Problem, Solved
This section is your safety net. I’ve gathered every single complaint, disaster story, and late-night baking panic question I’ve ever received and answered them all here. Print this out. Keep it near your stand mixer.
| Problem | Root Cause | Solution |
|---|---|---|
| Cracked chocolate / coating | Cake balls were frozen too long, causing expansion as they warm | Freeze for max 25 min only. Refrigerate instead for longer chill times. |
| Oil leaking from coating | Coating was overheated; fat separated | Discard seized coating and start fresh. Never exceed 90°F. Microwave in shorter bursts. |
| Cake pops too heavy | Balls are too large, or too much frosting was added | Use #50 scoop, keep balls 1–1.25″ max. Reduce frosting by 1 tbsp. |
| Coating is dull, not glossy | Coating was over-stirred or temperature fluctuated | Thin with paramount crystals, melt fresh batch. Work in a cool room (under 70°F ideal). |
| Pops sweating after refrigeration | Condensation from temperature change | Allow pops to come to room temp inside the fridge-bag, then remove. Never transfer cold pops directly to warm humid air. |
| Uneven coating thickness | Coating too thick, or dipping technique inconsistent | Always use deep narrow vessel. Thin coating to honey consistency. One slow, single dip motion. |
| Cake ball texture too dense | Over-mixed crumbs with too much frosting | Add frosting in smaller amounts. Mix just until binding — not smooth paste. |
If you’re baking on a rainy or humid spring day, expect longer setting times and potential coating issues. Run a dehumidifier or air conditioner in your kitchen, or work near a fan. Humidity is the invisible enemy of candy coating — water molecules in the air really do affect the setting process.
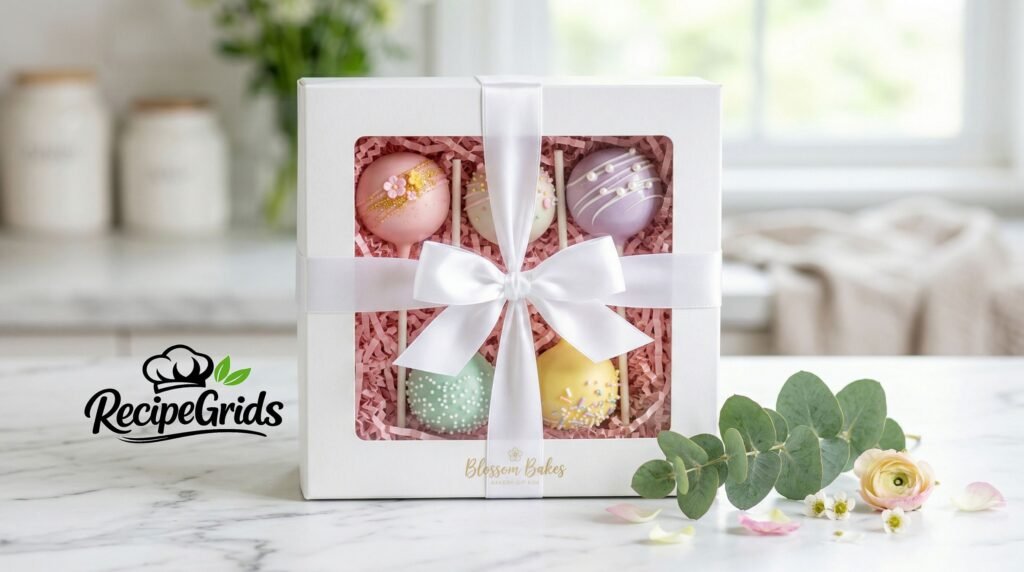
Make-Ahead & Storage Tips
One of the biggest practical advantages of spring cake pops is how well they lend themselves to advance preparation — something I always recommend to anyone making them for a party. Here’s the full breakdown:
Uncoated Cake Balls
Refrigerate up to 3 days, or freeze in an airtight container for up to 6 weeks. Thaw overnight in fridge before dipping.
Finished Cake Pops (Room Temp)
Store in a cool, dry place for up to 1 week. Keep away from direct sunlight which can fade pastel colors and soften coating.
Finished Cake Pops (Fridge)
Up to 2 weeks refrigerated. Store in a sealed container. Allow to come fully to room temp before serving (20–30 min).
Finished Cake Pops (Frozen)
Freeze up to 2 months, individually wrapped in plastic, then in a zip bag. Thaw fully in fridge, then at room temp. Do NOT microwave.
My Make-Ahead Timeline for a Spring Party
- Day 1 (up to 2 weeks ahead): Bake, crumble, mix, and form cake balls. Freeze in airtight container.
- Day 2 (2–3 days before the party): Dip and decorate all pops. Store at room temperature in a cool space.
- Party Day: Arrange in your display stand, dust with any additional luster if desired, and enjoy the compliments.
Ready to Make Your First Batch?
These spring cake pops are genuinely one of the most rewarding things you’ll ever make in your kitchen. The first time you hold a perfectly coated, beautifully decorated pop that you made with your own hands — there’s a satisfaction that is completely its own. I hope this guide takes all the guesswork out of it for you.
Made this recipe? I would love to see your spring creations — share a photo and tag your post with #SpringCakePops so our whole community can celebrate your beautiful work with you.
Frequently Asked Questions
Yes, absolutely — and real chocolate (white or milk) gives a more complex flavor. However, it requires proper tempering to achieve that glossy, snap-worthy finish. Untempered real chocolate will be dull and soft at room temperature. If you’re not comfortable tempering, stick to candy melts for a beginner-friendly, reliable result. If you do use real white chocolate, add a tiny amount of refined coconut oil (1 tsp per cup) to thin it to the right dipping consistency.
The most common reason is that your cake balls were frozen too long (over 25–30 minutes). When a very cold ball is dipped, the exterior coating sets quickly, but as the warmer interior slowly expands back to room temperature, it puts pressure on the coating shell from the inside — creating cracks. The fix is simple: refrigerate instead of freezing, or limit freezer time strictly to 20 minutes. Also check that you’re not dipping into coating that is too hot, as extreme temperature differentials worsen this effect.
Fully finished, decorated cake pops keep beautifully for up to 1 week at room temperature in a cool, dry environment — away from direct sunlight. If refrigerating, they’ll last up to 2 weeks. For maximum make-ahead efficiency, I recommend forming and freezing the uncoated cake balls up to 6 weeks ahead, then dipping and decorating 2–3 days before the event. This gives you flexibility without compromising quality.
Don’t throw it out yet. Gently microwave the bowl in 10-second bursts, stirring between each, until the clumps loosen. Once fluid again, add paramount crystals (1–2 tsp) and stir until smooth. Paramount crystals are vegetable-based fat flakes specifically designed to thin candy coating — they’re inexpensive, available online or at any craft store bakery section, and I genuinely consider them essential equipment. Coconut oil works as a backup but can slightly affect the final sheen.
Both adaptations work very well. For gluten-free, simply use a gluten-free vanilla cake mix (King Arthur’s Gluten Free Measure for Measure works beautifully) and ensure your candy melts are certified gluten-free (Wilton brand is generally considered safe, but always check the label). For vegan pops, use a vegan vanilla cake recipe (flax egg + plant milk), pair with a vegan buttercream made with vegan butter, and use vegan-friendly compound coating such as dairy-free white chocolate chips or specifically labeled vegan candy melts. The technique is identical — the recipe adapts cleanly.
Final Thoughts: Make Spring Edible
Spring cake pops are more than a trend or a baking project — they’re a way of capturing the absolute best parts of this season and putting them on a stick. The colors, the lightness, the joy of sharing something beautiful and delicious. Every element of this guide was designed to help you succeed, from the first crumble of cake all the way to the moment you hand one to someone and watch their face light up.
Trust the technique. Respect the temperature. Thin your coating. Chill your balls. And don’t freeze them too long. If you follow those principles and keep this guide close, you will make gorgeous spring cake pops — every single time.
Happy baking. The season is waiting. 🌸