
6 Ultimate Healthy Yogurt Recipes: A Complete Guide to Instant Pot, Desserts, and Baking
If you are a fan of healthy eating and want to take care of your weight or gut health, yogurt should be an essential part of your daily diet. Nowadays, there is a massive trend on the internet—especially on platforms like Pinterest and Instagram—for discovering new and innovative yogurt recipes. According to recent data, people between the ages of 25 and 44, of which 86% are women, are actively searching for healthy yogurt recipes, instant pot yogurt, and fluffy yogurt desserts.
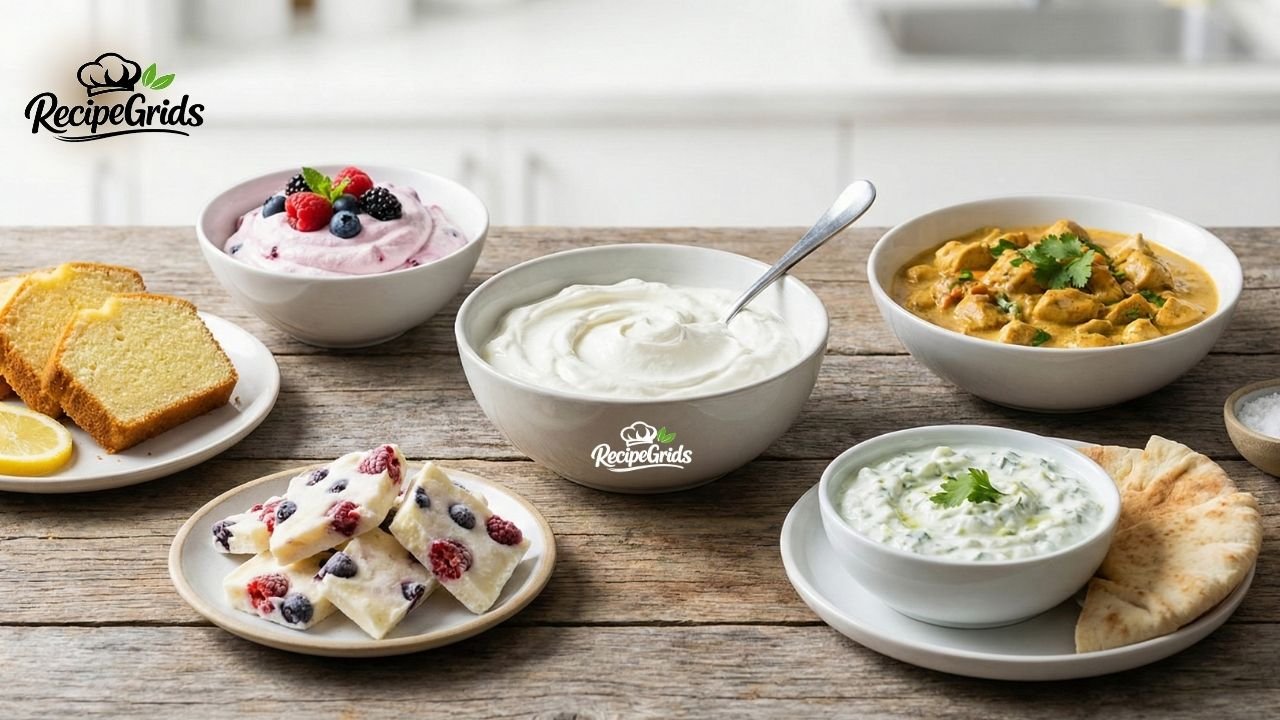
Yogurt isn’t just for eating plain! You can use it in baking, create delicious low-calorie desserts with it, and even use it to make your main courses (like curries) incredibly creamy and healthy. In this comprehensive guide, I am going to share with you the 6 most trending and delicious yogurt recipes. Each recipe comes with a complete Recipe Card that includes ingredients, prep time, and step-by-step instructions.
Let’s embark on this healthy and delicious culinary journey!
The Amazing Health Benefits of Eating Yogurt
Before we jump into the recipes, let’s talk a little bit about why yogurt is so popular and why nutritionists often refer to it as a superfood:
- A Treasure Trove of Probiotics: Yogurt contains live bacteria (probiotics) that are excellent for your gut. They improve digestion and protect you from ailments like bloating or acidity.
- High Protein Content: Greek yogurt, in particular, is rich in protein. It strengthens your muscles and keeps you feeling full for a longer time, which greatly assists in weight loss.
- Calcium and Vitamins: Calcium is essential for strong bones and teeth, and yogurt is one of the best natural sources of it. In addition, it contains Vitamin B12 and Riboflavin.
- Immunity Booster: Eating yogurt daily strengthens your immune system and helps you fend off common illnesses like colds and the flu.
- Great for the Skin: The lactic acid present in yogurt makes your skin glow and helps remove dead skin cells (whether you eat it or apply it directly as a face mask).
Now that we know the incredible benefits of yogurt, let’s learn how to make these trending recipes!
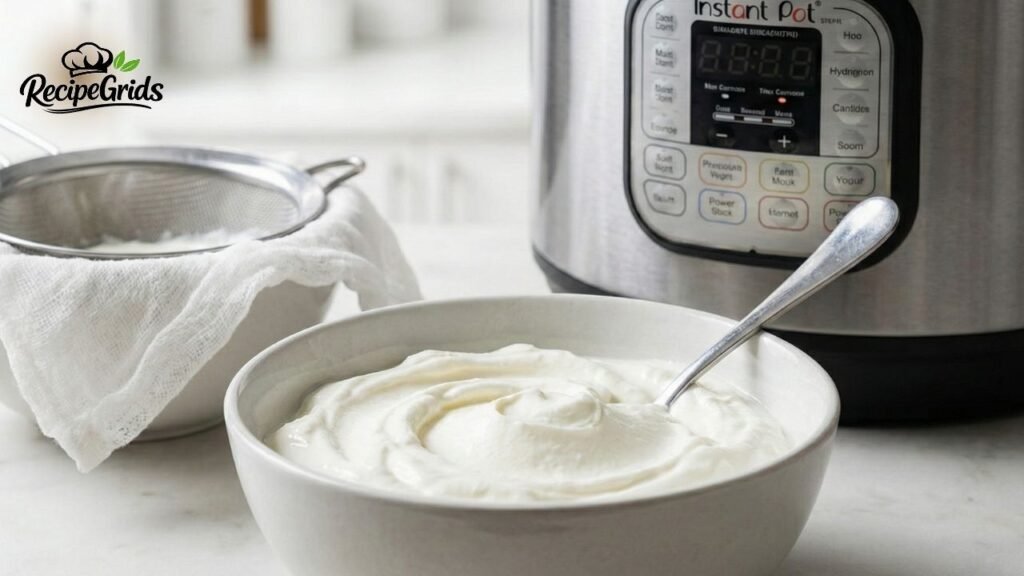
Recipe 1: Homemade Instant Pot Greek Yogurt
Store-bought Greek yogurt can be quite expensive, and it often contains hidden sugars and preservatives. Recently, the “Instant Pot Yogurt” trend has skyrocketed. If you have an Instant Pot, you can easily make thick, creamy, and delicious Greek yogurt right at home. This recipe is foundational because you can use the resulting yogurt as a base for all the other recipes in this guide.
Why is Instant Pot Yogurt Better?
The Instant Pot maintains the temperature at an absolutely perfect level, which allows the yogurt to incubate quickly and become incredibly thick. You don’t have to constantly monitor the milk on a stovetop.
📋 RECIPE CARD: Homemade Instant Pot Greek Yogurt
Prep Time: 15 mins | Cook Time: 8-10 hours (Incubation) | Total Time: 10 hours | Servings: 8-10 cups
🛒 Ingredients:
- 1 Gallon (approx. 3.7 Liters) Whole Milk: Full-fat milk yields the creamiest and thickest yogurt.
- 2-3 Tablespoons Active Yogurt Starter: You can buy any plain yogurt from the market that has “Live Active Cultures” written on the label. (Ensure it has no added sugar or flavors).
🔪 Step-by-Step Instructions:
Step 1: Boil the Milk
- Make sure the inner steel pot of your Instant Pot is clean and dry. Pour the milk into it.
- Close the Instant Pot lid. Press the “Yogurt” button, then press “Adjust” to set it to “Boil”.
- When the cycle finishes, the Instant Pot will beep and the screen will display “Yogt”.
- Check the temperature of the milk using a food thermometer. It should reach 180°F (82°C). If it hasn’t, turn on the Saute mode to heat it a bit more. This step is crucial for killing harmful bacteria and breaking down the proteins so the yogurt sets thickly.
Step 2: Cool the Milk
- Remove the steel pot from the Instant Pot and place it in a sink filled with ice and cold water (an ice bath).
- Keep checking the milk’s temperature. You need to cool it down to 110°F – 115°F (43°C – 46°C). If the temperature is too high, the starter bacteria will die; if it’s too low, the yogurt won’t set.
- If a skin (malai) forms on top of the milk, simply skim it off with a spoon.
Step 3: Add the Starter
- Take half a cup of the warm milk from the pot and put it in a small bowl.
- Add 2-3 tablespoons of your yogurt starter to this bowl and mix thoroughly so there are no lumps.
- Now, pour this mixture back into the main pot of milk and stir gently to combine.
Step 4: Incubation
- Place the pot back into the Instant Pot and close the lid.
- Press the “Yogurt” button again and set the time for 8 to 10 hours. Keep it on the “Normal” setting (not Boil).
- After 8 hours, the yogurt will be set. If you prefer a tarter (more sour) yogurt, you can leave it for 10 to 12 hours.
Step 5: Chilling & Straining for Greek Yogurt
- Once the time is up, remove the pot and immediately place it in the fridge for at least 4 hours to let the yogurt set completely.
- To Make Greek Yogurt: Place a large strainer over a large bowl and line it with cheesecloth. Pour your prepared yogurt into it and leave it in the fridge for 4-6 hours. All the liquid (whey) will drain into the bowl, leaving you with thick, rich Greek yogurt on top!
💡 Pro Tips:
- Do not throw away the leftover liquid (whey) after straining! You can use it in smoothies, for kneading dough, or in soups because it is packed with protein.
- For your next batch of yogurt, save 3 tablespoons of this prepared yogurt, freeze it, and use it as your ‘starter’.
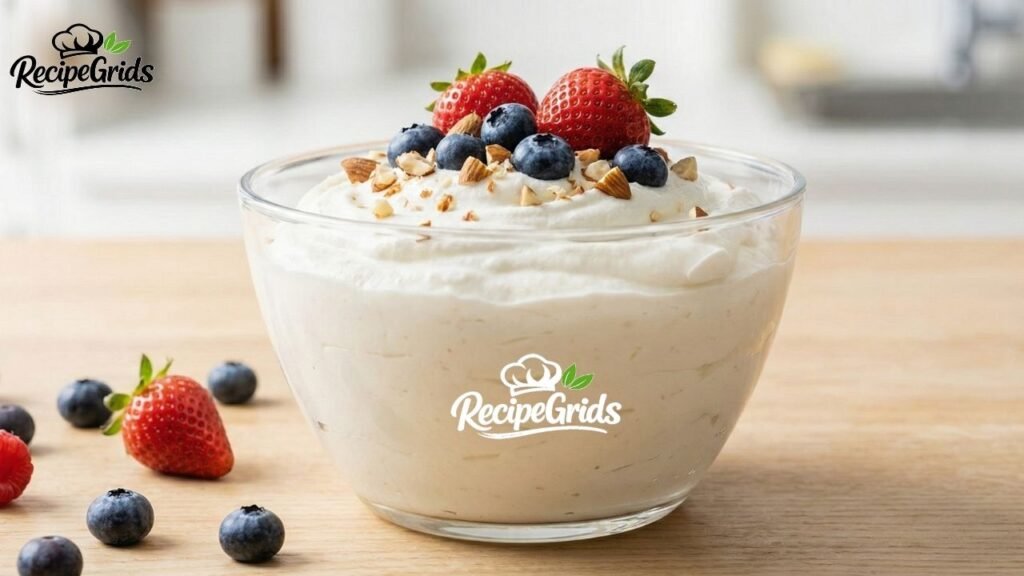
Recipe 2: Viral Fluffy Yogurt Dessert (Weight-Loss Friendly)
If you use TikTok or Instagram, you’ve likely seen the “Fluffy Yogurt” trend. This is the perfect dessert for those who have a strong sweet tooth but don’t want to ruin their diet plan. It tastes exactly like mousse or cheesecake but is significantly lower in calories.
What is Fluffy Yogurt?
It is essentially the process of aerating yogurt and adding a little natural sweetness. It is incredibly easy to make and feels very refreshing and light.
📋 RECIPE CARD: Fluffy Whipped Yogurt Mousse
Prep Time: 10 mins | Chilling Time: 2 hours | Total Time: 2 hours 10 mins | Servings: 2
🛒 Ingredients:
- 1 Cup Thick Greek Yogurt (Strained and thick)
- 1/4 Cup Heavy Whipping Cream (Cold) or coconut cream (for a vegan option)
- 1.5 Tablespoons Honey or Maple Syrup
- 1/2 Teaspoon Vanilla Extract
- Fresh Berries (Strawberries, Blueberries) for garnish
- 1 Tablespoon Chopped Almonds or Walnuts
🔪 Step-by-Step Instructions:
Step 1: Whip the Cream
- Take the cold heavy whipping cream in a bowl. Using a hand mixer or a whisk, beat it until stiff peaks form (meaning the cream thickens and holds its shape). Be careful not to over-beat, or it will turn into butter.
Step 2: Prepare the Yogurt
- In a separate bowl, add the Greek yogurt, honey, and vanilla extract. Mix well until everything is combined smoothly.
Step 3: Folding
- Now, gently add the whipped cream to the yogurt mixture. This process is called ‘folding’. You must not mix vigorously, otherwise, the air will escape from the cream and the mousse won’t be fluffy. Use a spatula to fold in gentle, circular motions.
Step 4: Chilling
- Spoon this fluffy mixture into serving glasses or small dessert bowls.
- Let it chill in the fridge for at least 1 to 2 hours.
Step 5: Garnish and Serve
- Remove from the fridge when ready to eat. Top with fresh chopped strawberries, blueberries, and chopped almonds. You can drizzle a little extra honey on top if desired. Serve chilled!
💡 Pro Tips:
- If you want to make this even more protein-rich, add 1 scoop of your favorite (vanilla or chocolate) protein powder into the yogurt.
- Leaving it in the fridge overnight makes the texture even more set and cheesecake-like.
Recipe 3: Healthy Yogurt Lemon Pound Cake (Baking Without Guilt)
Using yogurt in baking is an absolute game-changer. According to recent trends, the demand for “Healthy baking recipes” has surged. Yogurt makes your cake incredibly soft and moist, and at the same time, it helps reduce the amount of oil or butter required. This Lemon Pound Cake is perfect for evening tea or coffee.

Why Does Yogurt Make Great Cakes?
The acidity level of yogurt reacts with baking soda, giving the cake an excellent “lift” and making it very spongy. Additionally, it helps keep the gluten soft and tender.
📋 RECIPE CARD: Healthy Yogurt Lemon Pound Cake
Prep Time: 15 mins | Cook Time: 45-50 mins | Total Time: 1 hour 5 mins | Servings: 8-10 Slices
🛒 Ingredients:
Dry Ingredients:
- 1 ½ Cups All-Purpose Flour – You can use Whole Wheat flour for a healthier option.
- 2 Teaspoons Baking Powder
- 1/2 Teaspoon Salt
Wet Ingredients:
- 1 Cup Plain Greek Yogurt (Room Temperature)
- 3/4 Cup Sugar or Coconut Sugar
- 3 Large Eggs – Room Temperature
- 1/2 Cup Vegetable Oil or Melted Coconut Oil
- 2 Tablespoons Fresh Lemon Juice
- 1 Tablespoon Lemon Zest (Grated lemon peel)
- 1 Teaspoon Vanilla Extract
For the Glaze (Optional):
- 1/2 Cup Powdered Sugar
- 1-2 Tablespoons Lemon Juice
🔪 Step-by-Step Instructions:
Step 1: Prepare the Oven and Pan
- Preheat your oven to 350°F (175°C).
- Grease a 9×5 inch loaf pan with oil or butter and line it with parchment paper so the cake comes out easily.
Step 2: Mix the Dry Ingredients
- In a medium-sized bowl, whisk together the flour, baking powder, and salt. Set aside.
Step 3: Mix the Wet Ingredients
- In a large bowl, add the yogurt, sugar, and eggs. Mix well with a hand whisk or beater until the sugar dissolves and the mixture is smooth.
- Now, add the oil, lemon juice, lemon zest, and vanilla extract, and mix again.
Step 4: Make the Batter
- Gradually add the dry mixture into the wet mixture in 2 to 3 parts, folding gently with a spatula.
- Crucial Tip: Do not over-mix the batter! Just mix until the flour is no longer visible. It is perfectly fine if a few small lumps remain. Over-mixing results in a hard, dense cake.
Step 5: Baking
- Pour the batter into the prepared loaf pan and gently tap the pan on the counter to release any trapped air bubbles.
- Bake in the preheated oven for 45 to 50 minutes.
- To check if it’s done, insert a toothpick into the center of the cake; if it comes out clean, the cake is ready.
Step 6: Cooling and Glazing
- Remove the pan from the oven and let it cool for 10 minutes. Then, remove the cake and place it on a wire rack to cool completely.
- Once the cake is cool, mix the glaze ingredients (powdered sugar and lemon juice) in a small bowl and drizzle it over the top of the cake with a spoon.
- Slice and enjoy!
💡 Pro Tips:
- If you prefer an orange flavor instead of lemon, substitute the lemon juice and zest with orange juice and orange zest.
- Always use room-temperature ingredients for cakes (take the yogurt and eggs out of the fridge half an hour before baking). This helps the cake rise better.
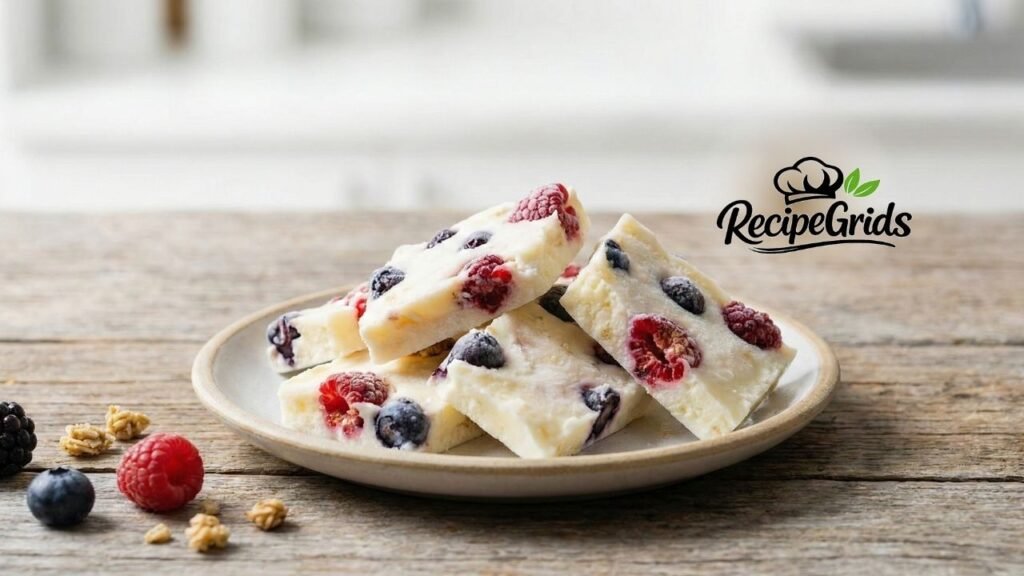
Recipe 4: Frozen Yogurt Bark with Mixed Berries (Healthy Sweets)
When summer begins, people start searching the internet for “Healthy Sweets Recipes.” Frozen Yogurt Bark is an excellent, low-calorie, and healthy alternative to ice cream. Kids absolutely love it, and making it is child’s play!
Why is Frozen Yogurt Bark Trending?
It is visually very appealing (perfect for Pinterest!), low in sugar, and highly customizable—you can add any fruits or nuts you like.
📋 RECIPE CARD: Frozen Yogurt Berry Bark
Prep Time: 5 mins | Freezing Time: 3-4 hours | Total Time: 4 hours 5 mins | Servings: 6-8 Pieces
🛒 Ingredients:
- 2 Cups Full-Fat Greek Yogurt (Full-fat is essential here so the bark remains creamy and doesn’t form too many ice crystals).
- 3 Tablespoons Honey or Agave Nectar
- 1 Teaspoon Vanilla Extract
- 1/2 Cup Sliced Strawberries
- 1/2 Cup Blueberries
- 1/4 Cup Granola or Chocolate Chips (Optional – for crunch)
🔪 Step-by-Step Instructions:
Step 1: Prepare the Yogurt Mixture
- In a bowl, add the Greek yogurt, honey, and vanilla extract. Mix well with a spoon. If you prefer it sweeter, you can increase the amount of honey.
Step 2: Spread on a Tray
- Take a baking sheet or tray and line it with parchment paper. Parchment paper is necessary, otherwise, the yogurt will stick to the tray.
- Pour the yogurt mixture onto the parchment paper and spread it evenly using a spatula. The thickness should be about 1/4 inch. Do not make it too thin, or it will shatter into crumbs when breaking.
Step 3: Add Toppings
- Now, beautifully arrange the sliced strawberries and blueberries on top of the spread yogurt.
- Sprinkle some granola or chocolate chips over the top for an added crunch.
- Gently press the fruits and granola down with your hands so they set into the yogurt slightly.
Step 4: Freezing
- Carefully place the tray in the freezer.
- Freeze for at least 3 to 4 hours, or until the yogurt is completely solid.
Step 5: Break and Serve
- Remove the tray from the freezer. Lift the parchment paper and break the bark into pieces using a knife or your hands.
- Serve immediately, as it starts melting quickly.
💡 Pro Tips:
- Store any leftover pieces in an airtight container or ziploc bag and put them back in the freezer. They will stay good for up to 2 months.
- Variations: You can also use bananas, peanut butter swirls, almonds, pistachios, or coconut flakes as toppings.
Recipe 5: Creamy Yogurt Chicken Curry (Healthy Dinner Idea)
Often, for our main courses (dinners), we use heavy creams, cashew pastes, or excess oil to thicken curries. But by using yogurt, you can create an incredibly delicious and rich curry that remains light on the stomach. This is an excellent high-protein dinner recipe.

How to Prevent Yogurt from Curdling in Curries?
A common complaint is that when yogurt is added to a hot curry, it splits or curdles. In this recipe, I will share the secret tip to ensure your yogurt never curdles again.
📋 RECIPE CARD: Healthy Creamy Yogurt Chicken Curry
Prep Time: 15 mins | Cook Time: 30 mins | Total Time: 45 mins | Servings: 4
🛒 Ingredients:
- 500 grams Boneless Chicken (Cut into cubes)
- 1 Cup Plain Yogurt (At room temperature)
- 1 Large Onion – Finely chopped
- 2 Tomatoes – Puréed or blended into a paste
- 1 Tablespoon Ginger Garlic Paste
- 2 Tablespoons Oil or Ghee
- 1 Teaspoon Cumin Seeds
- 1 Teaspoon Red Chili Powder
- 1/2 Teaspoon Turmeric Powder
- 1 Teaspoon Coriander Powder
- 1/2 Teaspoon Garam Masala
- Salt to taste
- Fresh Cilantro (Coriander leaves) for garnish
🔪 Step-by-Step Instructions:
Step 1: Sauté the Chicken
- Heat the oil in a pan or wok (karahi) and add the cumin seeds. When they start to crackle, add the finely chopped onions.
- Cook the onions until they are golden brown. Then add the ginger-garlic paste and sauté for 1 minute.
- Now add the chicken cubes and fry on medium-high heat until the chicken changes color to white.
Step 2: Add the Spices
- Add turmeric, red chili powder, coriander powder, and salt to the chicken. Mix well and sauté for 2 minutes to cook off the raw flavor of the spices.
- Pour in the tomato paste, cover the pan, and cook for 5-7 minutes until the oil starts separating from the masala.
Step 3: Yogurt Tempering (The Secret Step)
- This is the most crucial step! Take the room-temperature yogurt in a bowl and whisk it thoroughly until smooth. Add 1 tablespoon of water to it.
- Now, turn the heat under the pan to the lowest setting, or turn the stove off completely.
- The Trick: Take 1 spoonful of the hot gravy from the pan and mix it into the bowl of cold yogurt (this is called tempering). This gradually raises the temperature of the yogurt.
Step 4: Add the Yogurt
- Now, slowly pour this tempered yogurt into the pan while stirring continuously.
- Once the yogurt is fully mixed in, turn the stove back on (if you turned it off) and keep the heat very low.
Step 5: Simmer
- Cover the curry and let it simmer on low heat for 10-15 minutes until the chicken is tender and the gravy is thick.
- Finally, sprinkle garam masala and freshly chopped cilantro on top.
- Serve hot with Roti (flatbread) or Cumin Rice!
💡 Pro Tips:
- Always use yogurt at room temperature. Cold yogurt immediately curdles when it hits a hot curry.
- Always lower the heat entirely when adding yogurt. High heat is the primary cause of curdling.
- If the curry becomes too thick, you can add a little hot water.
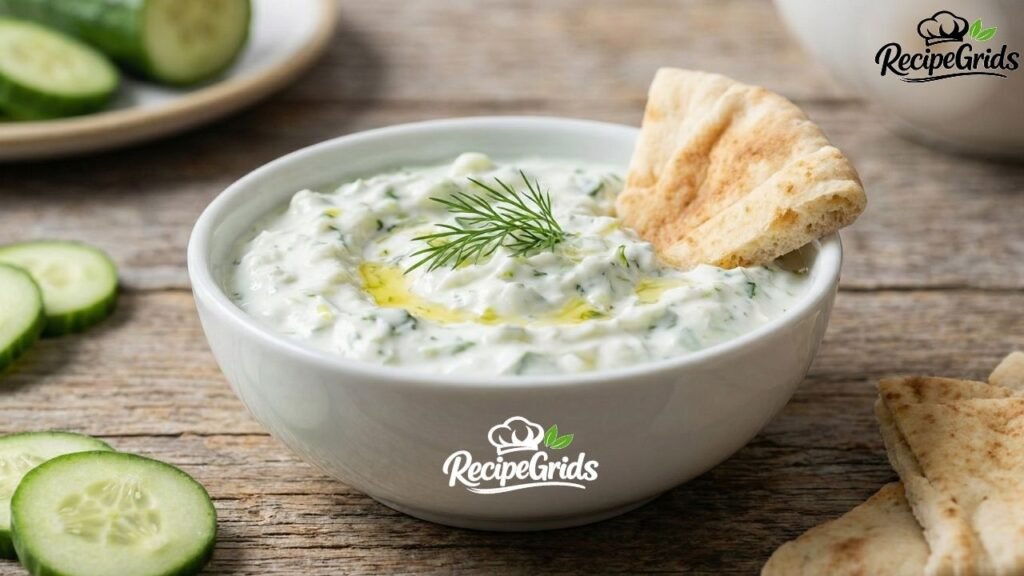
Recipe 6: Authentic Greek Tzatziki (Yogurt Cucumber Dip)
Certain appetizers and snacks are incomplete without yogurt. Tzatziki (pronounced ‘tsah-see-key’) is an incredibly famous and healthy Mediterranean dip. You can eat it with kebabs, falafel, chips, or vegetable sticks. It is a fantastic, low-fat alternative to mayonnaise.
What is the Authentic Way to Make Tzatziki?
Often, when people add cucumber to yogurt, it releases water and makes the dip runny. In this recipe, we’ll see how to make thick, creamy, authentic Tzatziki.
📋 RECIPE CARD: Authentic Greek Tzatziki Dip
Prep Time: 15 mins | Resting Time: 15 mins | Total Time: 30 mins | Servings: 4-6
🛒 Ingredients:
- 1 ½ Cups Greek Yogurt (Thick, strained yogurt)
- 1 Medium English Cucumber
- 1 Tablespoon Extra Virgin Olive Oil
- 1 Tablespoon Fresh Lemon Juice
- 1 Tablespoon Fresh Dill – Finely chopped (If fresh isn’t available, use a pinch of dried mint)
- 1/2 Teaspoon Salt
- A pinch of Black Pepper
🔪 Step-by-Step Instructions:
Step 1: Grate the Cucumber and Drain the Water (Most Important Step)
- Wash the cucumber and grate it (leave the skin on).
- Add 1/4 teaspoon of salt to the grated cucumber and leave it for 10 minutes. The salt will draw all the water out of the cucumber.
- Now, using your hands or a piece of cheesecloth, squeeze the cucumber tightly. Squeeze out as much water as possible. This step is essential, otherwise, your dip will be runny!
Step 2: Combine the Ingredients
- Put the Greek yogurt into a bowl.
- Add the squeezed cucumber, minced garlic, extra virgin olive oil, lemon juice, chopped dill (or mint), and the remaining salt and black pepper.
Step 3: Mix and Chill
- Mix all the ingredients thoroughly with a spoon.
- For the best flavor, place it in the fridge for at least 1 to 2 hours so the flavors of the garlic and herbs infuse deeply into the yogurt.
Step 4: Serve
- When ready to serve, transfer to a serving bowl. Drizzle a little olive oil on top and decorate with a sprig of fresh dill.
- Serve with Pita bread, crackers, or vegetable sticks (carrots, celery).
💡 Pro Tips:
- If you don’t have Greek yogurt, tie regular yogurt in a piece of cheesecloth and hang it or place it in a strainer over a bowl for 2 hours to let the whey drain out.
- You can store Tzatziki in the fridge in an airtight container for 3 to 4 days.
Frequently Asked Questions (FAQs)
When making yogurt recipes, a few common questions often come to mind. Here are the answers to them:
Q1: Can I use regular plain yogurt instead of Greek Yogurt? Answer: For baking recipes (like cakes) and curries, you can easily use regular yogurt. However, for desserts (like Fluffy Yogurt or Bark) and dips (Tzatziki), Greek yogurt is much better because it has less water content and yields a creamier texture. If you must use regular yogurt, strain it in a cloth first to remove the excess water (make hung curd).
Q2: What should I do if the yogurt curdles in my curry? Answer: If the yogurt curdles, dissolve a little cornstarch or gram flour (besan) in water, add it to the curry, and cook on low heat. This will help bind and smooth out the mixture again. But if you use the “Tempering” method (explained in Recipe 5), this problem will never happen.
Q3: Can I make yogurt at home without an Instant Pot? Answer: Absolutely! Boil the milk, cool it to 110°F, stir in the starter culture, wrap the pot in a warm cloth or blanket, and place it in a warm spot (like inside a turned-off oven or microwave) for 8 hours. The Instant Pot just makes the process easier and fool-proof.
Q4: Which recipe is best for weight loss? Answer: Recipe 2 (Fluffy Yogurt) and Recipe 4 (Frozen Bark) are excellent for satisfying sweet cravings while trying to lose weight. They are low in calories and high in protein, which helps control hunger. Just be mindful to keep the amount of honey low.
Conclusion
Yogurt is an incredibly versatile and nutritious ingredient. Whether it’s for breakfast, lunch, or a late-night sweet craving, yogurt provides a healthy option for every time of day. The recipes included in this article—Instant pot yogurt, fluffy whipped yogurt, yogurt pound cake, frozen bark, creamy chicken, and Tzatziki—are 6 outstanding dishes that are highly trending worldwide right now, especially among women aged 25-44.
If you are always looking for new and healthy recipes on Recipegrids, be sure to try these in your kitchen. We hope you and your family will absolutely love them.
Which of these 6 recipes did you like the most? Or if you have made any of them, be sure to share your experience in the comments below! Happy Cooking!